
How to Stop Concealer From Creasing: A Beginner-Friendly 7-Step Routine
August 20, 2026 · v13cormier@gmail.com
Affiliate disclosure: This post contains affiliate links. If you shop through them, Glow & Grow Beauty may earn a commission at no extra cost to you. Links lead to broad shopping categories; always review the current listing, ingredients, directions, seller, and eye-area suitability before purchasing.
Under-eye concealer tends to settle when too much skincare, concealer, or powder collects in the natural folds around the eyes. The goal is not to erase normal texture. It is to use thin layers, give each step time to settle, and remove excess before setting.
Before You Begin
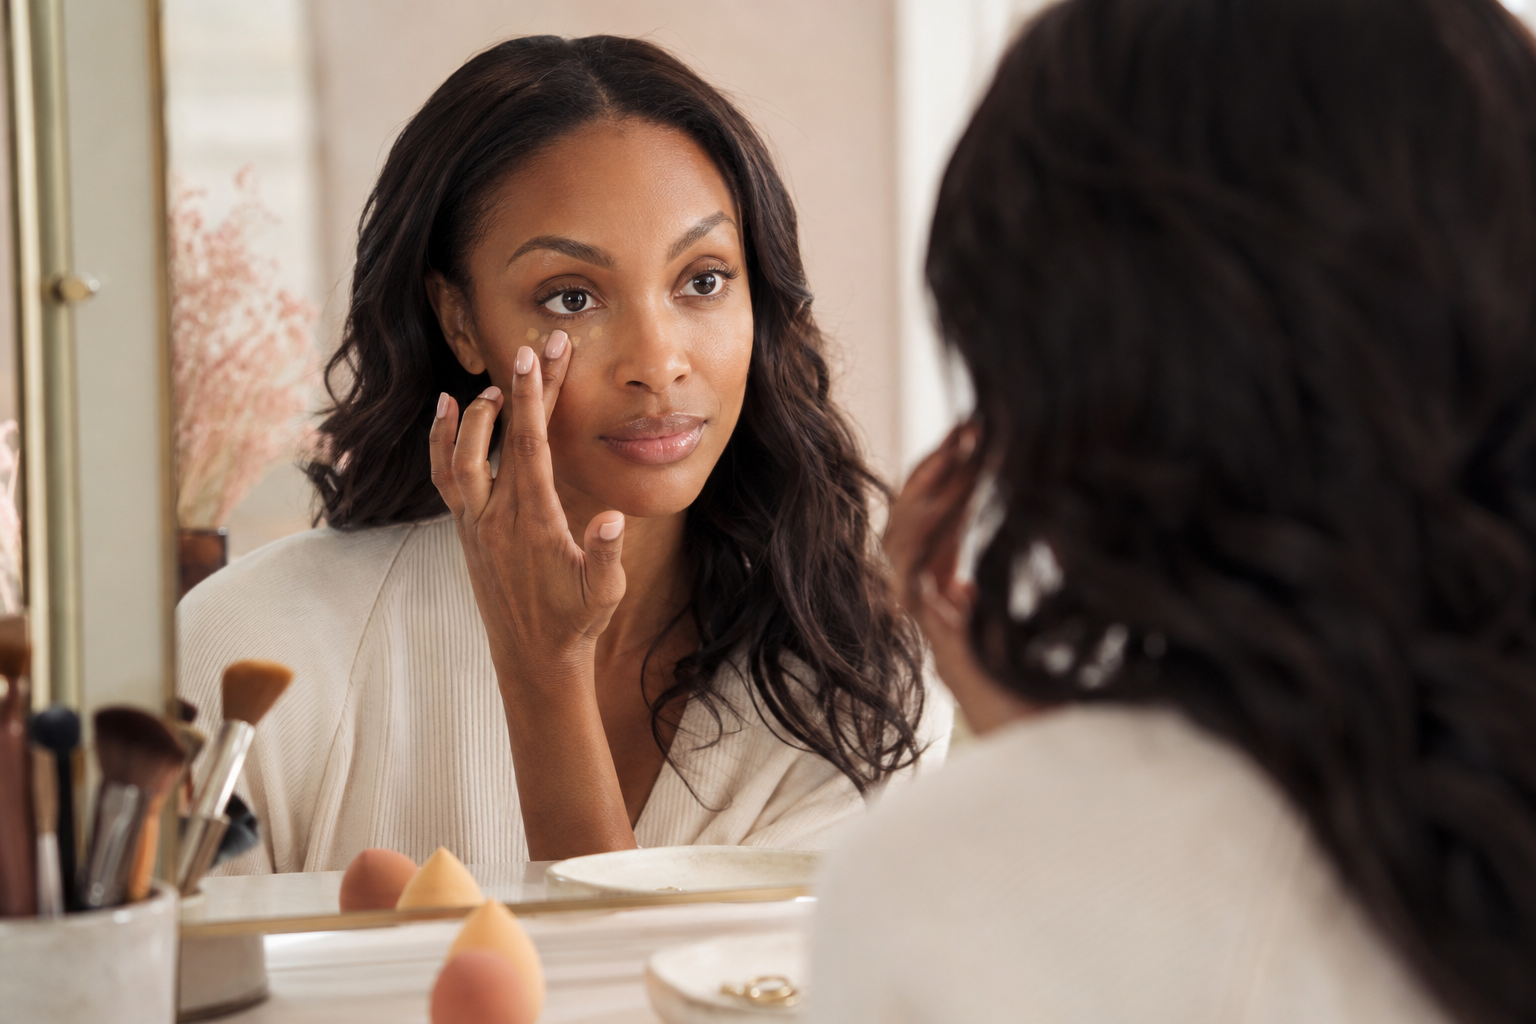
Wash your hands and make sure sponges, brushes, and puffs are clean. Use only cosmetics intended for the eye area. If a product causes burning, swelling, persistent watering, or irritation, stop using it. Do not apply eye makeup over an infection or inflamed skin, and never share eye-area products or applicators.
The 7-Step Under-Eye Routine
1. Start With a Clean, Comfortable Base
Remove leftover makeup and allow your normal skincare to absorb. If the under-eye area feels comfortable, avoid adding extra layers simply because they are trending. Too much slippery product can make concealer move.
2. Use a Small Amount of Moisturizer
If the area feels dry, tap on a thin layer of a moisturizer you already tolerate. Let it settle before makeup. Blot away visible excess with a clean tissue rather than rubbing.
3. Apply Less Concealer Than You Think
Place a small dot near the inner corner and another only where discoloration is visible. Add more after blending only if needed. A full triangle of product can be harder to keep smooth.
4. Tap Instead of Swiping
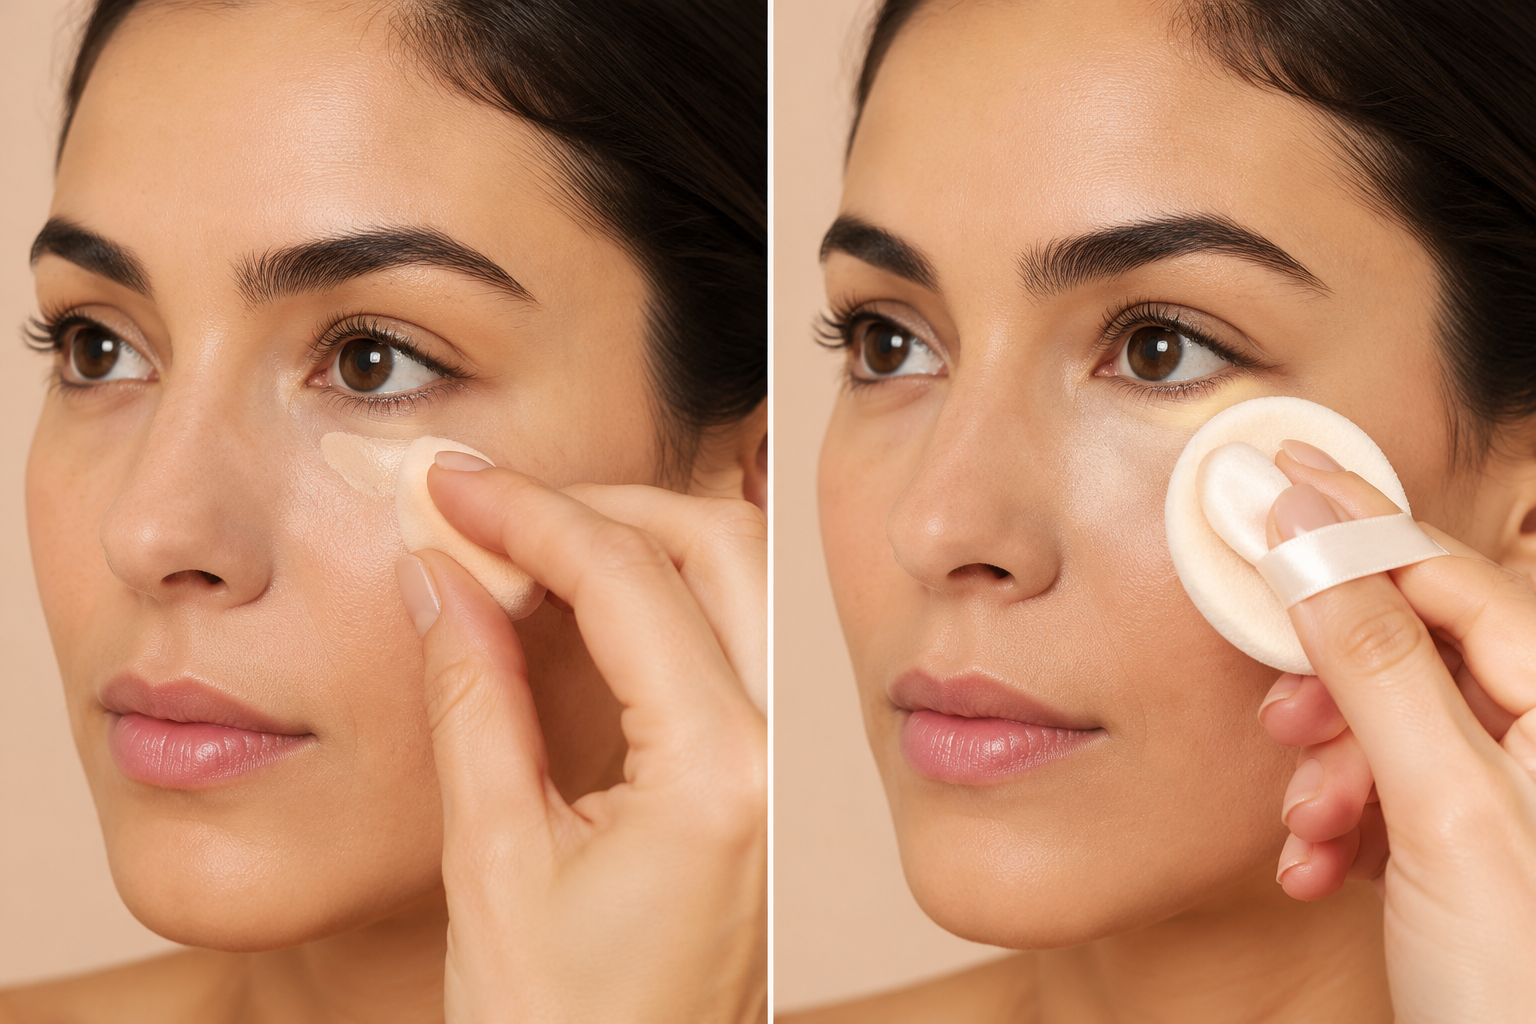
Use a clean fingertip, small brush, or damp—not dripping—sponge. Tap the edges outward while keeping coverage where you need it. Swiping can move product away from the target area and leave uneven layers.
5. Pause, Then Remove Any Settling
Wait briefly and look down into a mirror. If concealer has collected in a fold, tap it smooth with a clean fingertip or sponge before adding powder. Powdering over a visible line can lock it in place.
6. Set Strategically
Pick up a small amount of finely milled powder with a clean puff or brush, press off the excess, and apply only where movement occurs. More powder is not automatically better; heavy layers can make texture look more noticeable.
7. Check in Natural Light
Step away from the magnifying mirror and check the result in ordinary light. If an area looks dry or heavy, gently lift excess with a clean sponge. Avoid repeatedly layering concealer and powder.
Helpful Tools for Thin, Controlled Layers
Mini Concealer Sponge
A small sponge can reach the inner corner and blend thin layers without disturbing the rest of your base.
Small Concealer Brush
A compact brush helps place product only where discoloration is visible before you soften the edges.
Mini Powder Puffs
A small puff gives controlled placement under the eyes. Use a clean puff and press off excess powder first.
Browse Vanessa’s Walmart Beauty Storefront
Explore more approved beauty-tool ideas. Review every current listing and choose only products suitable for your routine.
Common Mistakes to Avoid
- Applying powder before smoothing visible settling.
- Using a wet sponge that dilutes and moves the concealer.
- Adding more layers every time texture appears.
- Using dirty tools or sharing eye-area cosmetics.
- Expecting makeup to remove normal lines and skin texture.
FAQs
Should I “bake” my under-eyes?
A heavy powder layer is not necessary for every skin type or makeup look. Begin with a minimal amount and add only if your routine genuinely needs it.
Can I skip powder?
Yes. If your concealer stays where you want it and you prefer the finish, powder is optional. Test your routine in normal light and wear conditions.
Why does my concealer look dry?
Possible contributors include too much product, heavy powder, an incompatible combination, or a dry base. Simplify one step at a time so you can identify what helps.
Sources and Further Reading
- U.S. Food & Drug Administration: Eye Cosmetic Safety
- FDA: Shelf Life and Expiration Dating of Cosmetics
Keep learning: Browse more beginner-friendly guides in Makeup. Save this routine for your next makeup day and tell us which under-eye step gives you the most trouble.