
Sunset Glam Makeup Tutorial: How to Get the Red, Gold and Sculpted Look
August 21, 2026 · v13cormier@gmail.com
Affiliate disclosure: This post contains affiliate links. If you shop through them, Glow & Grow Beauty may earn a commission at no extra cost to you. Amazon links open curated search results using our Associates tag. Always confirm the seller, product, shade, ingredients and listing details before buying.
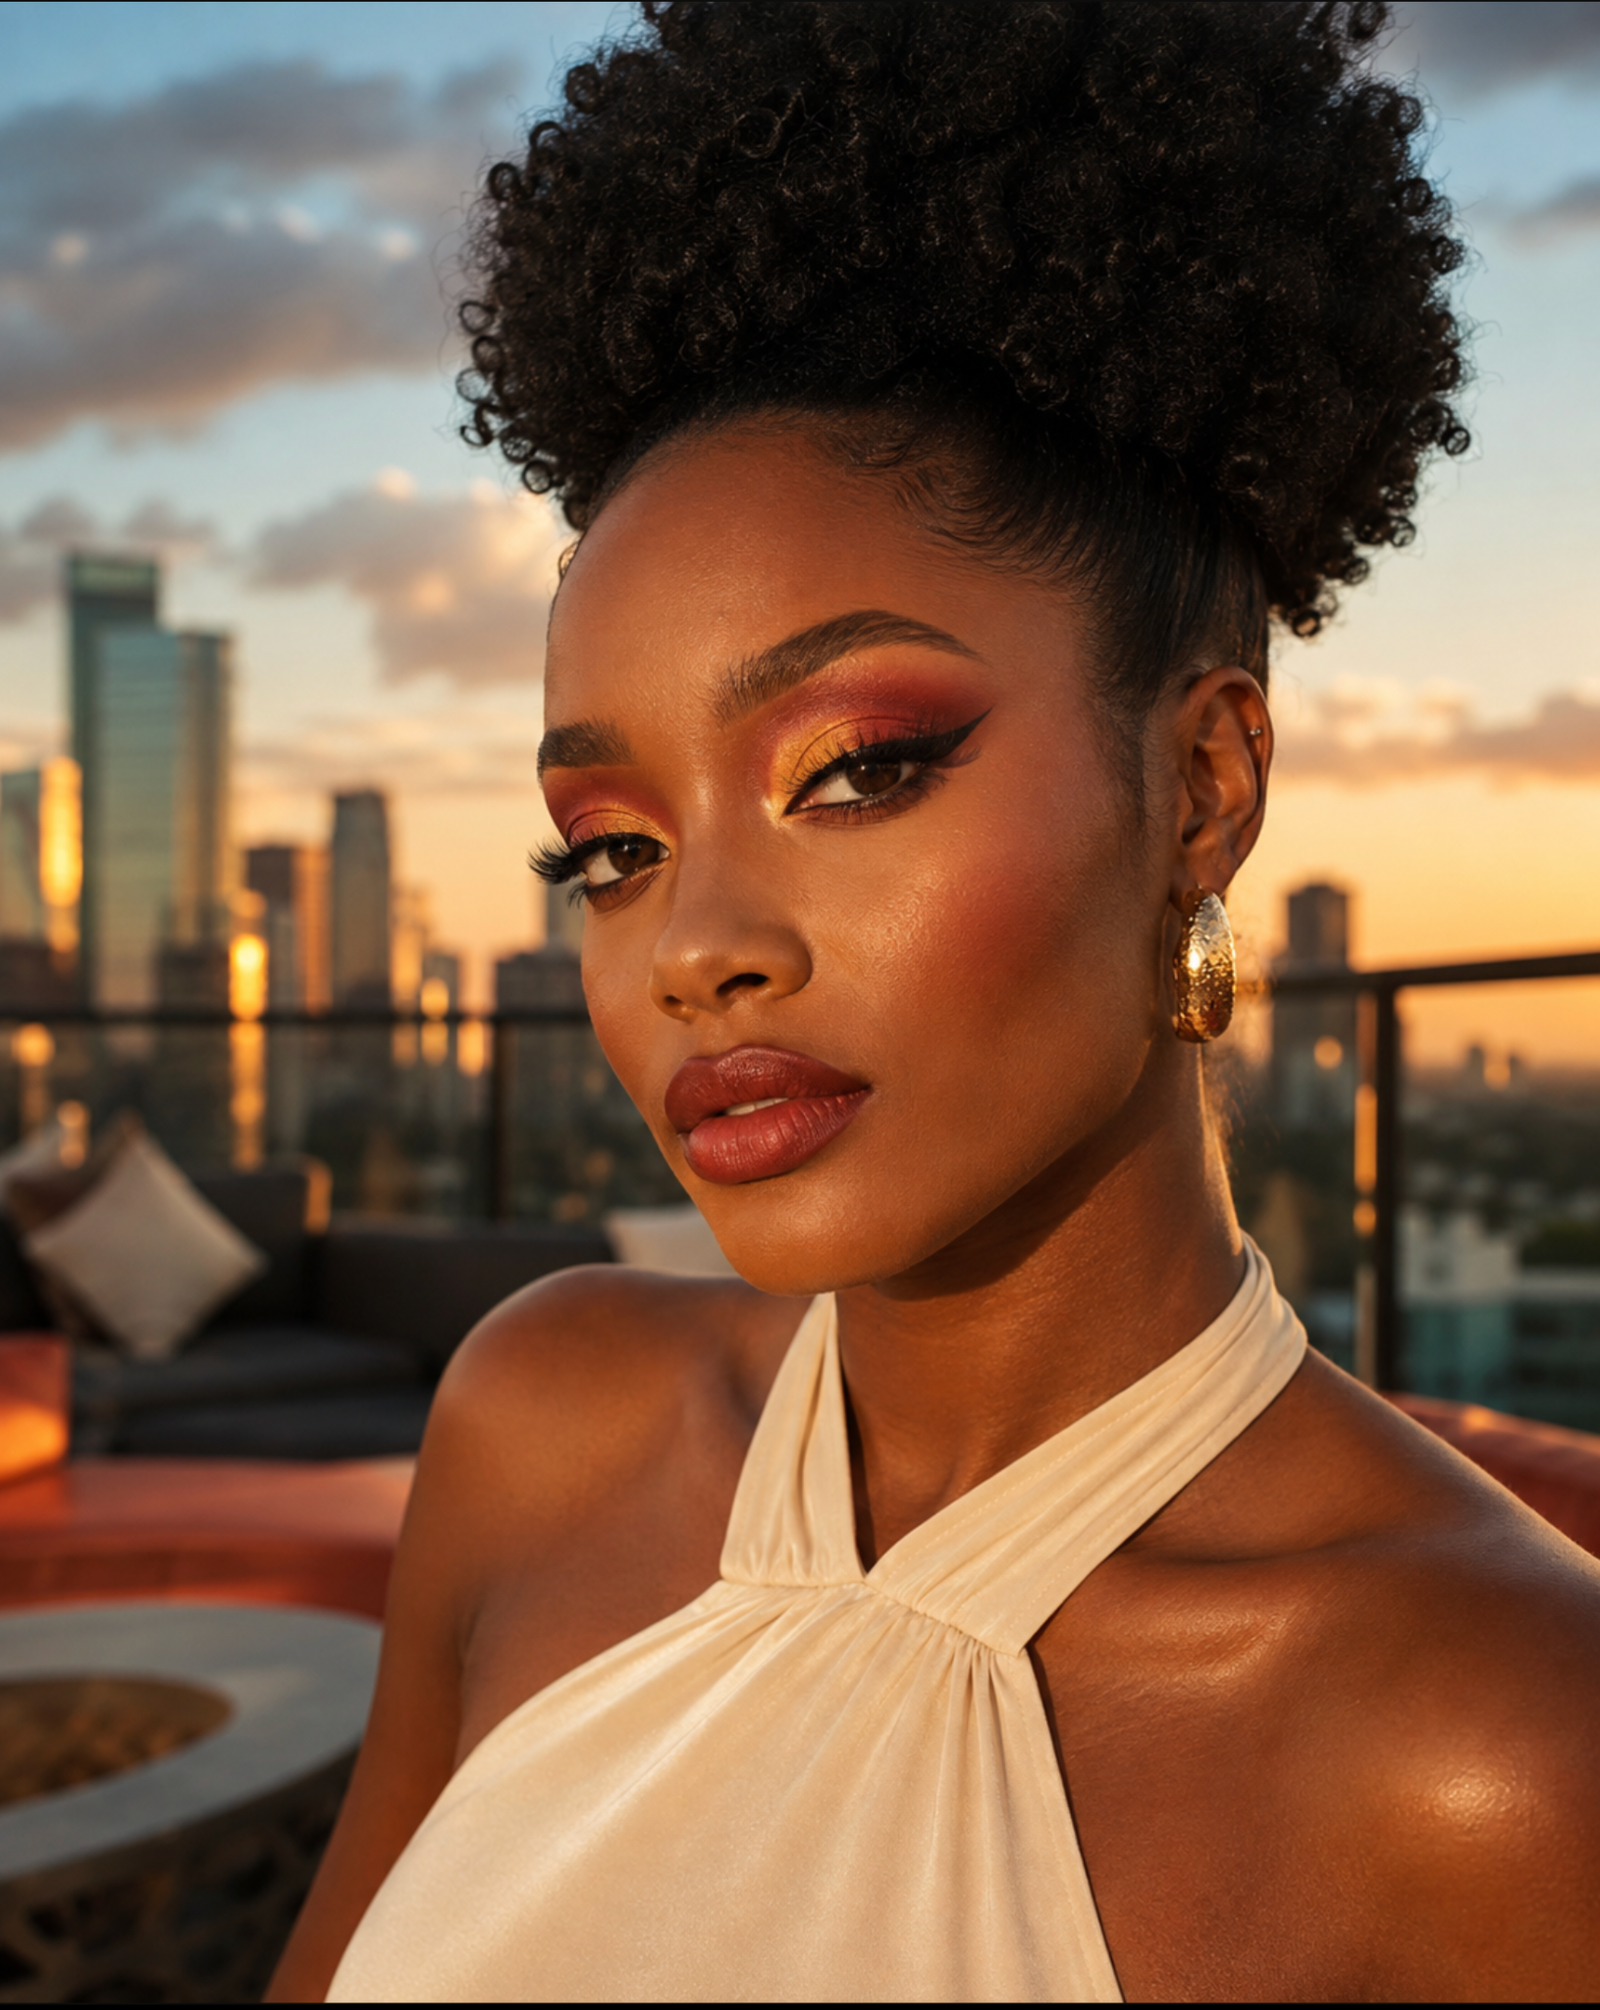
This sunset-glam look is all about a smooth gradient: warm brown at the edges, brick-red through the crease, molten gold on the lid and crisp black liner for definition. The complexion stays softly sculpted so the eyes and lip remain the focus.
Important: The products below were selected to recreate the color story. We are not claiming that these exact products were used in the inspiration photo, and we have not assigned the model a foundation or concealer shade. Shade-match your complexion products in natural light and consult each brand’s current shade guide.
What you will need
- Primer, foundation, concealer, contour and setting powder
- Matte warm orange, brick-red, deep brown and black shadows
- A metallic gold or bronze shadow
- Black liquid liner and mascara
- Deep brown lip pencil and a brick or brown-red lipstick
- A sponge plus foundation, powder, blending, packing, pencil and angled-liner brushes
Step 1: Prep and prime in thin layers
Begin with your normal moisturizer and daytime sun protection, allowing each layer to settle. Smooth a small amount of primer over areas where makeup tends to separate or become shiny. Thin, even layers create a better base than piling on product.
Fenty Beauty Pro Filt’r Instant Retouch Primer
A complexion-prep option for creating a smoother-looking base before foundation. Choose it according to your skin type and finish preference.
Click Here to Shop on AmazonStep 2: Even the complexion without hiding the skin
Dot foundation at the center of the face and blend outward with a damp sponge or foundation brush. Add coverage only where you need it. Check the jawline in daylight; a good match should connect the face, neck and chest without an obvious line.
Fenty Beauty Pro Filt’r Soft Matte Longwear Foundation
A soft-matte foundation option for building an even base. Select your own shade and begin with a light layer.
Click Here to Shop on AmazonStep 3: Conceal, brighten and sculpt
Place small dots of concealer at the inner and outer under-eye, around the nose and on any areas that need extra coverage. Let it sit briefly, then blend the edges before the center. For dimension, blend a contour shade beneath the cheekbone, along the temples and lightly around the jaw. Keep the application soft—the eye makeup will provide the drama.
Too Faced Born This Way Super Coverage Multi-Use Concealer
Use a skin-matching shade for spot concealing or a carefully chosen brightening shade under the eyes.
Shop on AmazonFenty Beauty Match Stix Contour
A cream contour option that can be blended in controlled placement before setting the face.
Shop on AmazonStep 4: Set strategically
Creasing begins when excess concealer and powder collect in fine lines. Look up, tap out any visible creases with your sponge, then press on a small amount of loose powder. Dust lightly through the center of the face and leave the high points more luminous.
Fenty Beauty Pro Filt’r Instant Retouch Setting Powder
Use a light hand to set concealer and high-movement areas. Choose a tone that works with your complexion rather than copying someone else’s shade.
Click Here to Shop on Amazon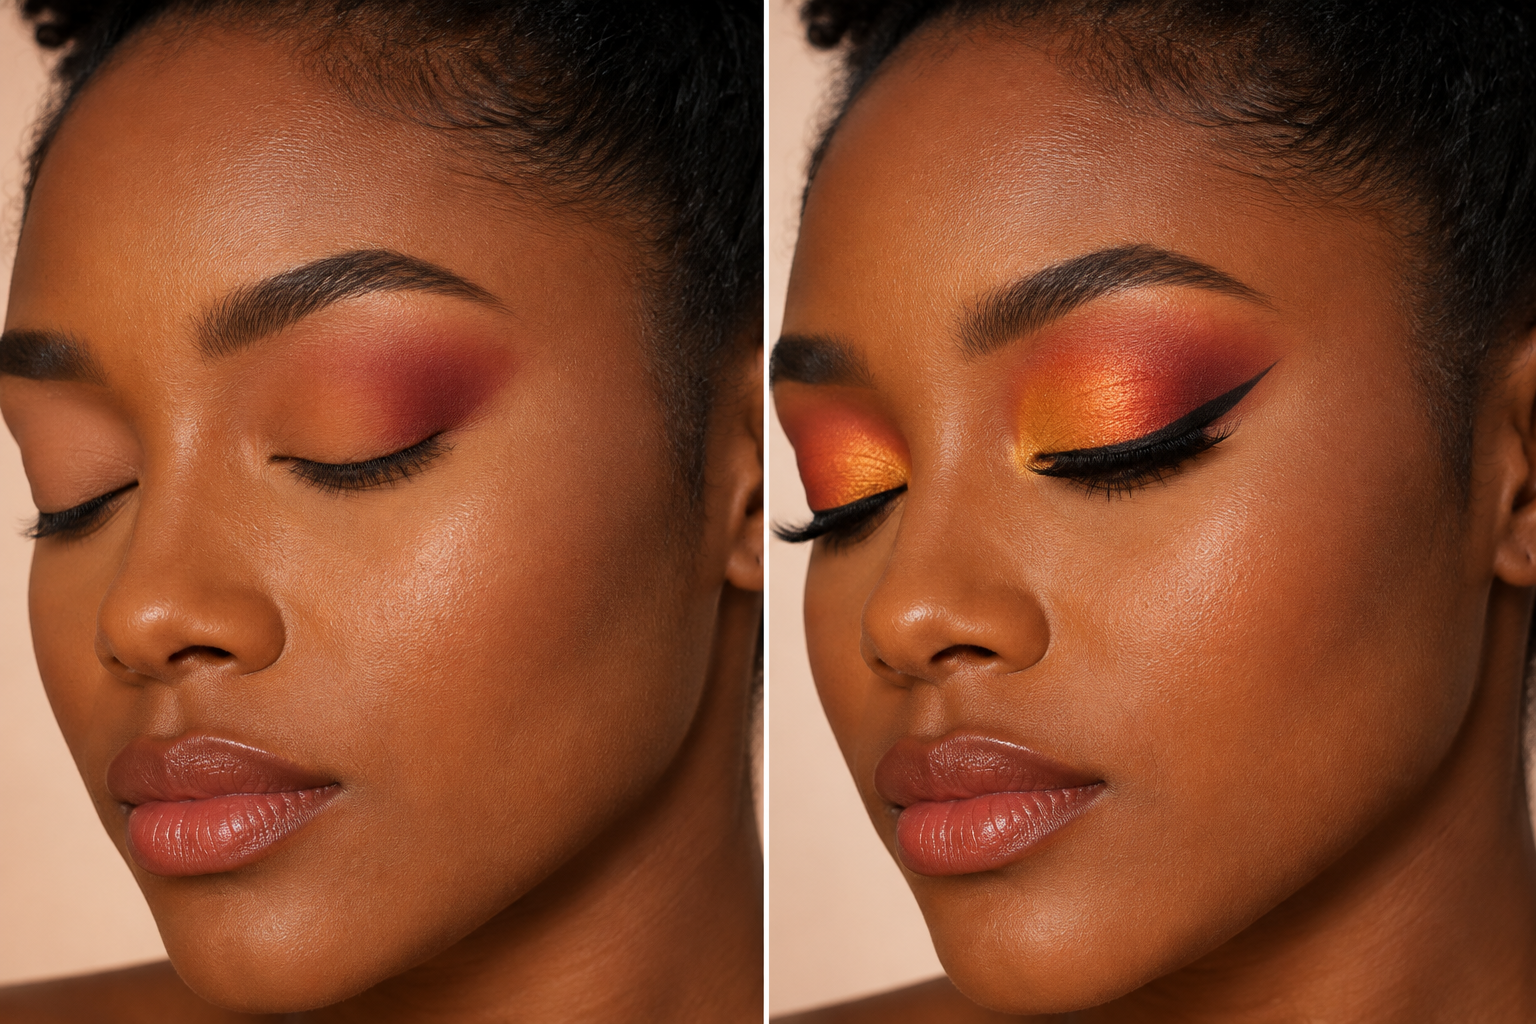
Step 5: Build the red-brown eye gradient
Prime the lids, then use a fluffy blending brush to sweep a warm orange through the crease. Add brick-red slightly lower and concentrate deep brown at the outer corner. Blend each color with small circles, returning to a clean brush whenever the edges look harsh. Deepen only after the previous layer looks smooth.
Juvia’s Place The Warrior II Palette
An all-matte palette with warm orange, coral, brown and charcoal tones suited to the transition, outer corner and soft lower lash line.
Click Here to Shop on AmazonStep 6: Press gold onto the lid
With a flat packing brush or clean fingertip, press metallic gold onto the inner and center lid. Keep the brightest point just above the iris, then overlap the red edge slightly so the colors melt together. A small pencil brush can place a touch at the inner corner.
Juvia’s Place The Warrior Palette
A companion palette of gold, bronze and brown tones for the glowing center-lid finish.
Click Here to Shop on AmazonStep 7: Draw the wing and define the lashes
Look straight ahead and sketch the wing toward the tail of the brow. Connect it back to the upper lash line in short strokes, keeping the inner line thin. Add mascara after the liner sets. False lashes are optional; the gradient and wing still create the effect without them.
MAC Brushstroke 24-Hour Liner
A brush-tip black liner option for building the wing in controlled strokes.
Shop on AmazonMAC Extended Play Gigablack Lash Mascara
Use after liner to darken and separate the lashes without covering the lid work.
Shop on Amazon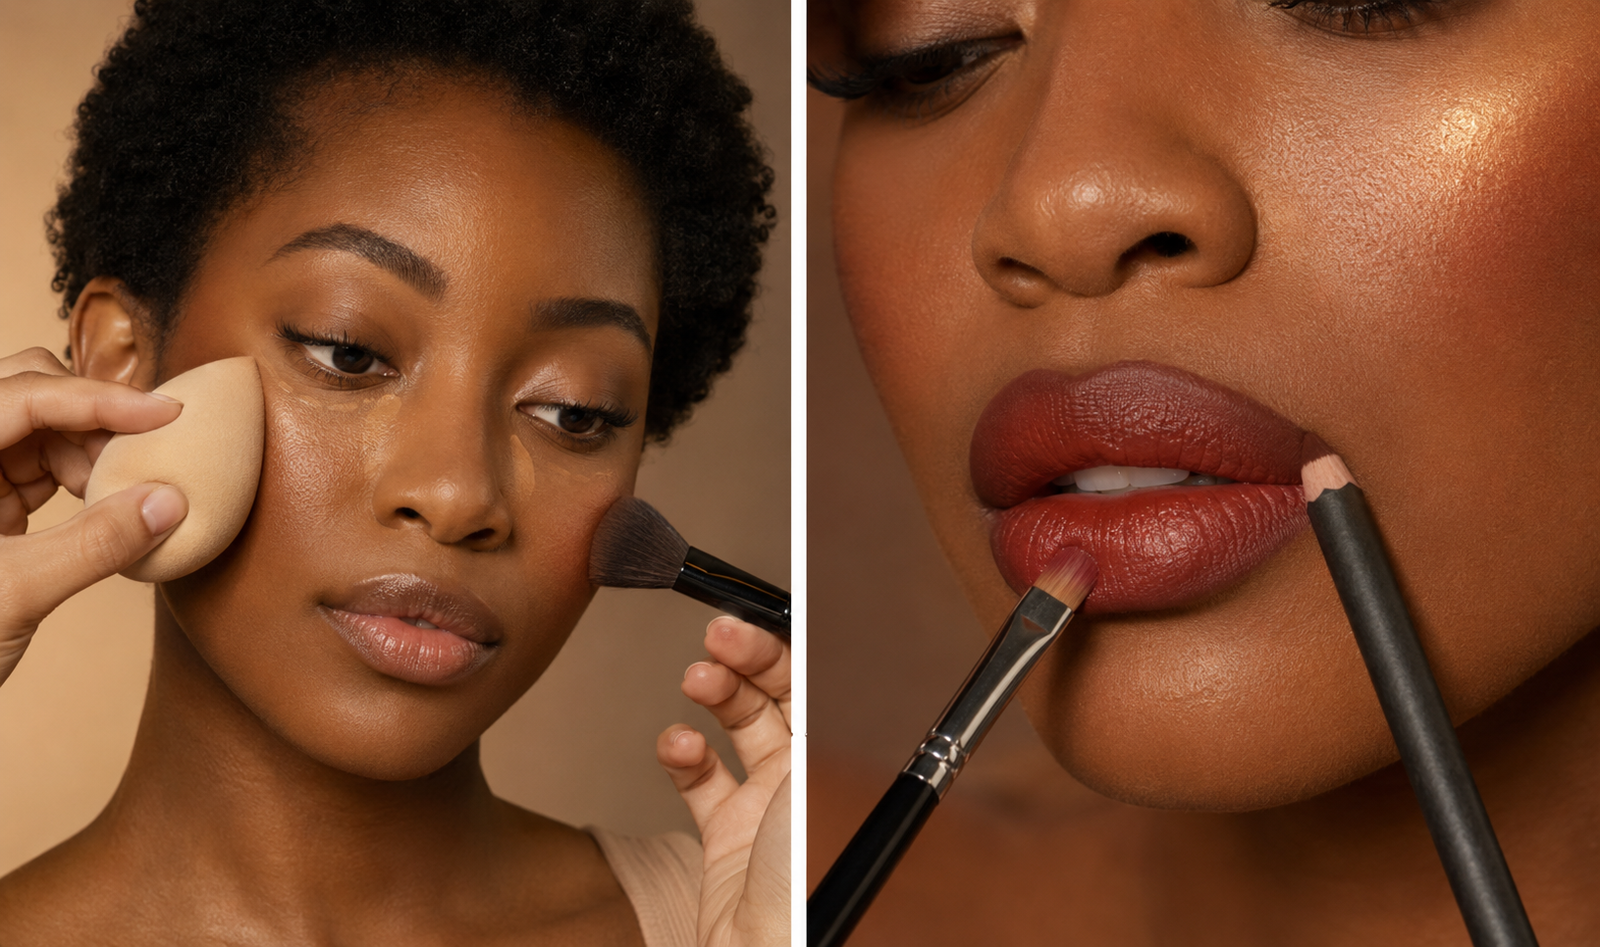
Step 8: Create the brown-red ombré lip
Line the natural lip shape with a deep brown pencil, softly shading the outer corners. Add a brick or brown-red lipstick to the center and press the colors together with a lip brush. Try MAC Chestnut as a deep-brown option, or choose a liner that sits naturally against your own lip tone. Paramount is one current warm, deep lipstick option; always preview the shade on yourself when possible.
MAC Lip Pencil in Chestnut
A deep-brown lip-pencil option for outlining and softly shading the perimeter.
Shop on AmazonMACximal Sleek Satin Lipstick in Paramount
A warm, deep lipstick option for the center of the brown-red lip look.
Shop on AmazonBrushes that make the steps easier
A small, practical kit should include a fluffy crease brush, smaller blending brush, flat shader, pencil brush, angled liner brush, foundation brush and powder brush. Clean tools matter more than a large brush collection.
Eye and Face Makeup Brush Set
Look for the core shapes listed above and a case that keeps clean brushes separate from used tools.
Click Here to Shop on AmazonEye-area safety notes
- Wash hands and use clean brushes before working near the eyes.
- Use only products labeled for the eye area; do not substitute lip liner for eyeliner.
- Do not share eye makeup or mascara. Stop using a product if irritation occurs.
- Follow package directions and discard products that smell, look or perform differently.
Frequently asked questions
Can I make this look softer for daytime?
Yes. Use tan instead of deep brown, keep the brick-red close to the crease, place a softer bronze on the lid and shorten the wing.
What if I have hooded eyes?
Apply the crease colors with your eyes open and place the gradient slightly above the natural fold so it remains visible. Keep the wing slim and test its angle before filling it in.
Do I need both Juvia’s Place palettes?
No. You need matte warm orange, red-brown and deep brown plus a metallic gold. Use one palette if it contains all four; the two suggested palettes simply divide the matte and metallic jobs clearly.
How do I reduce under-eye creasing?
Use less concealer, tap out creases before powder and set only with what you need. Read our beginner-friendly concealer routine for more detail.
Sources and further reading
- U.S. FDA: Eye Cosmetic Safety
- U.S. FDA: Using Cosmetics Safely
- Fenty Beauty product and shade information
- Too Faced: Born This Way Super Coverage Concealer
- Juvia’s Place: The Warrior II Palette
- MAC: MACximal Sleek Satin Lipstick
Ready to try sunset glam?
Save this tutorial, start with the eye gradient and build the color slowly. Then explore more beginner-friendly ideas in our Makeup collection.