
How to Keep a Glueless Wig Secure Without Glue: A Beginner-Friendly 7-Step Routine
August 24, 2026 · v13cormier@gmail.com
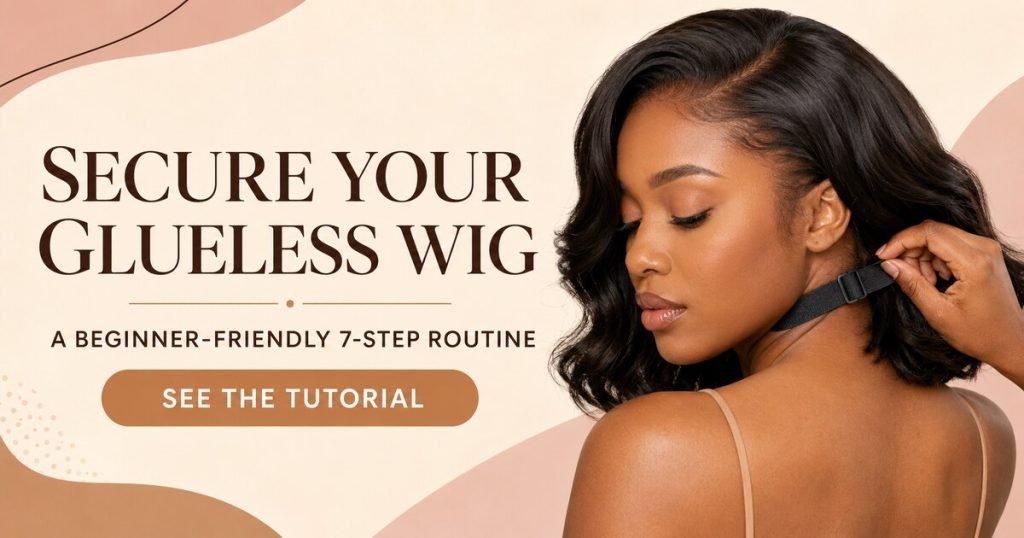
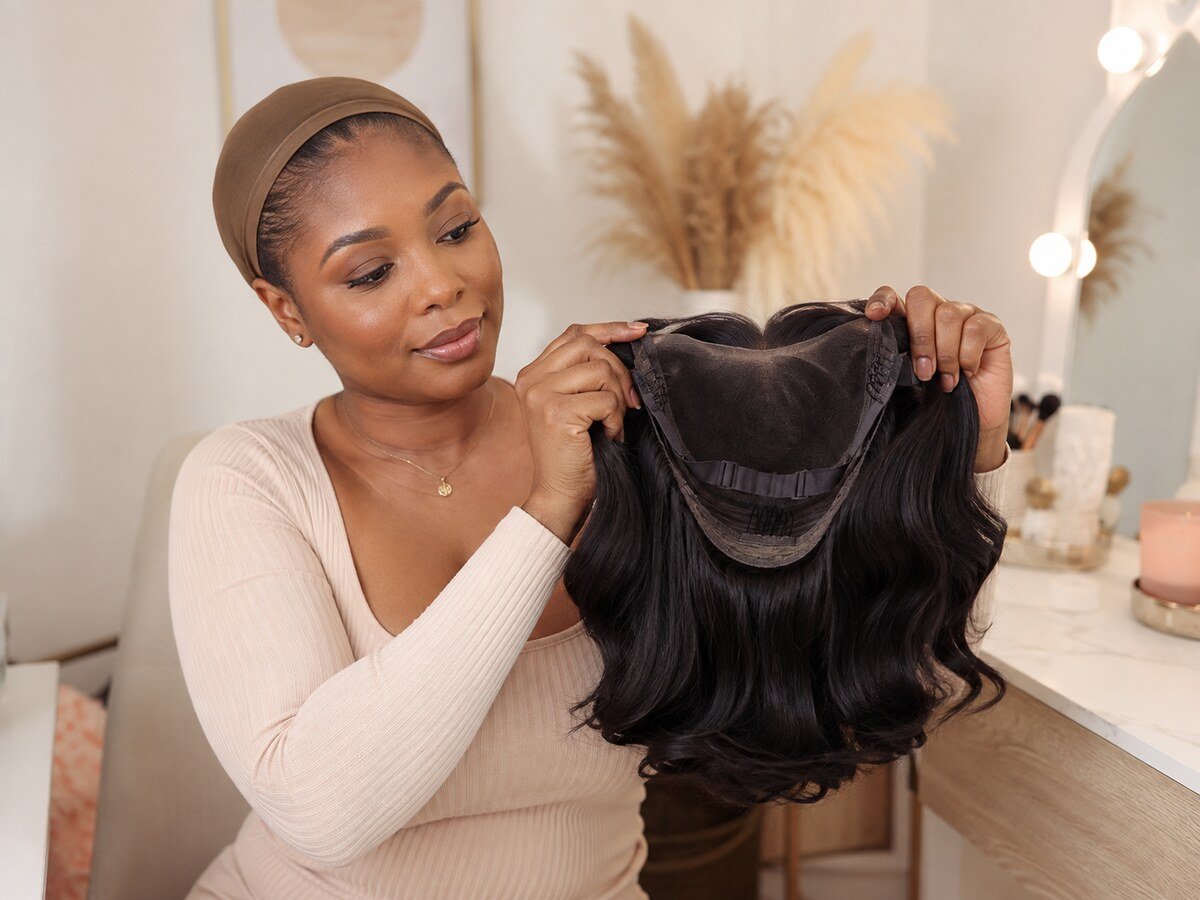
A glueless wig should feel secure because the cap fits well and its built-in features work together—not because you tightened everything until it hurts. This beginner routine uses the wig’s adjustable band, a comfortable base and careful placement to reduce slipping without adhesive.
Important: “Glueless” describes how the wig is worn, not a promise that every cap will fit every head. If the wig slides even after careful adjustment, the cap may be too large or the construction may not suit your head shape.
What you need
Breathable Wig Caps
Choose a cap close to your scalp tone or hair color. A thin cap helps contain the hair without adding bulky pressure.
Adjustable Velvet Wig Grip Band
A soft grip band can add friction beneath a glueless wig. It should sit flat and feel secure without causing a headache.
Rat-Tail Comb
Use the pointed tail for gentle alignment and the teeth for smoothing. Keep the pointed end away from the eyes and scalp.
Double-Sided Edge Brush and Comb
Useful for lightly arranging the wig’s front hairs or smoothing your own edges without heavy tension.
No-Crease Styling Clips
Clips keep hair away from the ear tabs and nape while you check the fit.
Glow & Grow Beauty Walmart Creator Storefront
Browse Vanessa’s approved Walmart storefront for wig caps, combs, brushes and styling accessories.
Before you begin: check the cap size
Measure around your head from the front hairline, behind the ears and around the nape, then compare that measurement with the wig maker’s size chart. Also check front-to-nape and ear-to-ear measurements when available. A cap that is much too large may bunch; a cap that is too small may create pressure at the temples and hairline.
How to secure a glueless wig in seven steps
1. Prepare your natural hair with low tension
Start with clean, dry hair. Use flat braids, twists or another smooth foundation, but keep it comfortable. If the style hurts, throbs or gives you a headache, loosen it. Repeated pulling can stress the hairline.
2. Apply a thin wig cap
Stretch the cap over your hair and tuck in loose ends. Keep the edge slightly behind your natural hairline so it does not rub directly on delicate edges. Smooth folds instead of stacking multiple caps.
3. Inspect the wig before putting it on
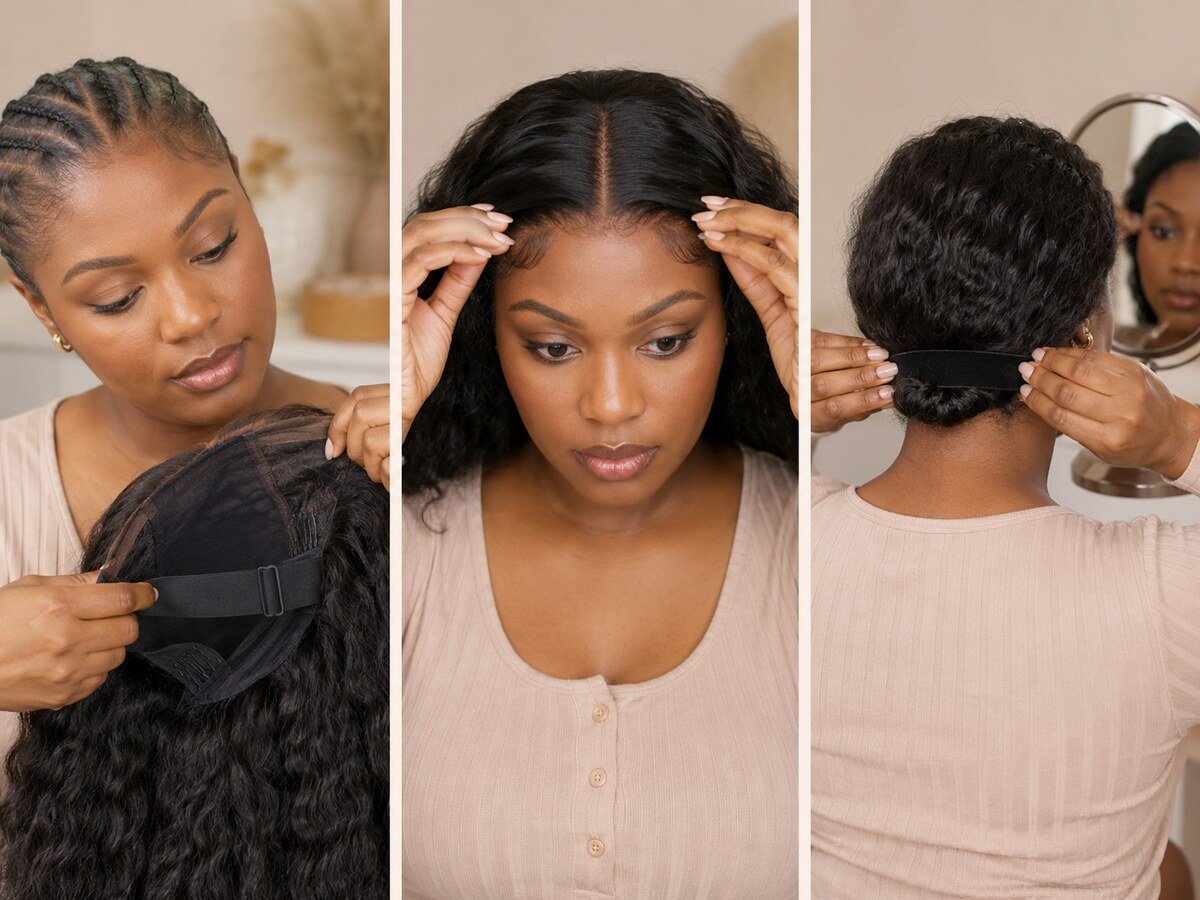
Turn the wig inside out. Locate the adjustable straps, elastic band, ear tabs and any built-in combs. Check that seams are intact and no sharp piece is exposed. If a comb presses into a sensitive area, do not force it against the scalp.
4. Adjust the inner band gradually
Shorten the band one setting at a time, then try the wig on. The goal is a gentle, even hold around the head. If the band leaves deep marks, causes pain or pulls the skin, it is too tight.
5. Add a wig grip when the cap needs help
Place the velvet grip behind your natural hairline with the label or seam positioned according to its directions. Fasten it flat at the nape. The wig grip should not bunch or sit directly on fragile edges.
6. Put on and align the wig
Hold the wig by the ear tabs, tip your head slightly forward and bring the back of the cap over the nape. Pull the front forward gently. Center the part, line up both ear tabs and position the lace close to—but not aggressively over—your natural hairline.
7. Perform the movement and comfort test
Turn your head left and right, look down, gently shake once and press near the ear tabs. The wig should stay in place without pinching. Check the nape in a mirror and make sure the cap has not rolled upward. Re-adjust the placement before tightening more.
What about built-in combs?
Combs can help some wearers, but they should not be jammed into the scalp or used to pull against fine edges. If you use them, slide them gently beneath a secure braid or wig cap. Skip a comb that causes discomfort, tangling or concentrated pressure.
Common reasons a glueless wig slips
- The cap is too large for your head measurements.
- The adjustable band is twisted or uneven.
- The wig grip is backward, bunched or placed too far forward.
- Hair beneath the cap is bulky at the nape.
- The ear tabs are not aligned evenly.
- Heavy styling or long hair is pulling the wig backward.
Comfort and hairline safety
A secure wig should not hurt. The American Academy of Dermatology warns that repeated pulling from tight styles can contribute to traction alopecia. Loosen the base and wig immediately if you feel pain, tenderness, stinging or a headache. Give irritated areas a break, and seek guidance from a dermatologist for ongoing hair loss, bumps or scalp discomfort.
If your scalp is tender, a soft cotton cap may create a more comfortable barrier. Dana-Farber Cancer Institute notes that a cotton skullcap can help reduce irritation for sensitive scalps. Keep the cap and wig interior clean and completely dry before wear.
Frequently asked questions
Can I wear a glueless wig without a wig cap?
Some people can, depending on their hair length, scalp comfort and wig construction. A cap can help contain hair, while a grip can help with slipping. Use only what improves the fit.
Should I sleep in a glueless wig?
Removing it at night reduces friction and gives you a chance to check your scalp and hairline. Store it on a suitable stand so the cap can air out.
Why does my wig lift near the ears?
The cap may not match your ear-to-ear measurement, or the ear tabs may be positioned unevenly. Adjust the wig placement before tightening the band. A professional wig stylist can assess alterations when the construction is the issue.
Can a wig grip damage edges?
Any accessory can cause trouble if it is too tight, rough, dirty or repeatedly placed on the same fragile area. Keep it behind the hairline and stop if you notice soreness or breakage.
Related Glow & Grow guides
Next, learn how to refresh a curly wig between washes, compare wig stands and mannequin heads, or explore small-space wig storage solutions.
Sources
- American Academy of Dermatology: Hairstyles That Pull Can Lead to Hair Loss
- Dana-Farber Cancer Institute: How to Choose a Wig
- American Cancer Society: Choosing and Wearing a Wig
Make comfort your final check
Save this routine for your next install. A well-fitted glueless wig should feel balanced, comfortable and easy to remove—never painfully tight.