
How to Keep Red Lipstick From Feathering: A Beginner-Friendly 7-Step Routine
October 13, 2026 · v13cormier@gmail.com

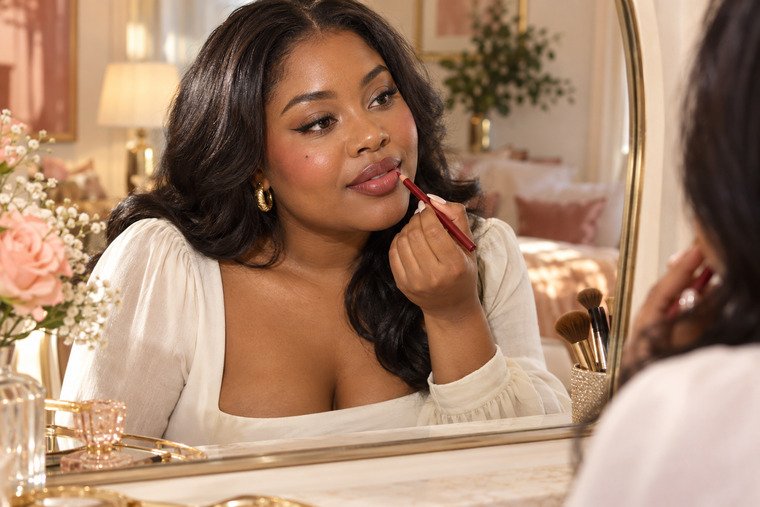
Red lipstick feathering happens when color travels into the fine lines around the mouth. A creamy formula, too much balm, a soft lip edge or simply applying one heavy coat can all make it more noticeable. The goal is to create a smooth—not slippery—base, build a precise liner barrier and apply color in thin layers.
What you need
- A gentle washcloth or soft lip exfoliator
- A lightweight lip balm
- A sharpened lip pencil close to your lipstick shade
- Your red lipstick
- A tissue, small lip brush and cotton swab
- Optional: a tiny amount of translucent powder or concealer for cleanup
Step 1: Smooth only what needs smoothing
On clean lips, press a damp, soft washcloth over flaky areas for a few seconds and wipe very gently. Do not scrub until the lips feel raw. If your lips are cracked, sore or actively peeling, skip exfoliation and focus on comfort first.
Step 2: Apply balm, then remove the extra
Massage in a thin layer of balm and let it sit while you do the rest of your makeup. Before liner, blot once with tissue. Your lips should feel flexible but not glossy; too much slip makes liner and lipstick move.
Step 3: Choose a liner that supports the red
A matching red liner keeps the result bright and seamless. A wine, brown-red or deep neutral liner can add structure to vivid reds on naturally deeper or two-toned lips. Test the pairing on your own lips in daylight—do not rely on the shade name alone.
MAC Lip Pencil
An ultra-precise pencil for defining the lip edge. Choose a shade that works with your red lipstick; Cherry is a classic pairing for bright red looks, while a deeper liner can create more dimension.
Step 4: Map the shape before filling it in
Rest your elbow on a table. Mark the center of the cupid’s bow, then the lowest point of the bottom lip. Connect those points to the corners with short strokes. Follow your natural border first; overlining every section at once can make symmetry harder for beginners.
Step 5: Fill the lips with liner
Shade inward from the outline until most of the lip is covered. This gives the lipstick something drier to grip and prevents a visible ring when the center fades. Keep the layer thin so it does not become heavy or crumbly.
Step 6: Apply two thin coats, not one thick coat
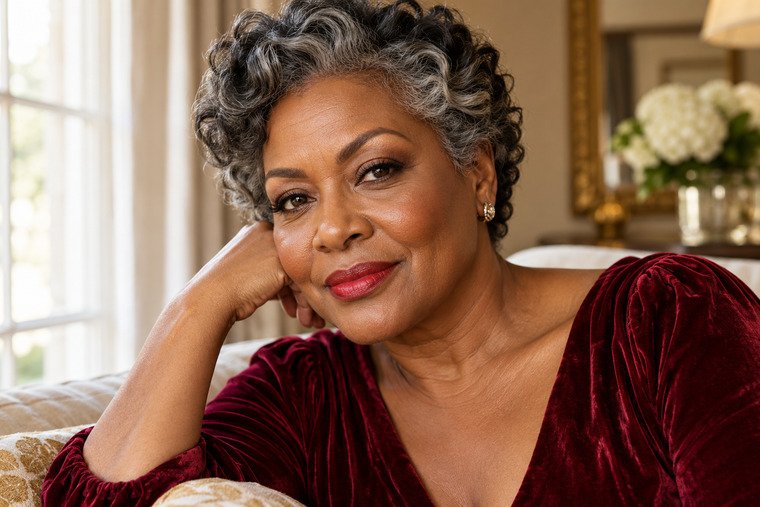
Apply lipstick from the center outward, using a lip brush near the edges if the bullet feels too broad. Press your lips onto a tissue once, then add a second thin coat. This layering method usually wears more evenly and is less likely to slide beyond the liner.
Fenty Beauty Stunna Lip Paint Longwear Fluid Lip Color in Uncensored
A vivid liquid red designed for smooth, long-wearing color. Because liquid formulas can be concentrated, start with a small amount and build only where needed.
Step 7: Perfect the edge and set selectively
Use a clean cotton swab to lift any mistake. For a sharper finish, trace just outside the lip line with a tiny amount of concealer on a flat brush. If feathering is a recurring problem, press the smallest veil of translucent powder around—not on top of—the outer lip edge. Too much powder can emphasize dryness.
How to choose your red
- Cool or rosy undertones: blue-red, cranberry and cherry shades often look especially harmonious.
- Warm or golden undertones: tomato, orange-red and brick-red shades can feel beautifully balanced.
- Neutral or olive undertones: true red, garnet and balanced brick shades are versatile starting points.
- Naturally pigmented lips: look for even opacity and test liner-plus-lipstick together; a deeper liner can help create a clean transition.
These are suggestions, not rules. The right red is the one that gives you the finish and contrast you enjoy.
Quick fixes when lipstick still travels
- Blot away extra balm before you line.
- Use less lipstick at the corners of the mouth.
- Sharpen the pencil so the border stays narrow.
- Check whether a very emollient lip treatment is mixing with your lipstick.
- Carry liner and a cotton swab for a quick edge refresh.
Safe removal
Soak a reusable pad with an oil-based makeup remover or cleansing balm and hold it against the lips for several seconds before wiping. Repeat gently instead of scrubbing. Wash away residue, then apply a plain balm. Stop using any product that causes burning, swelling or persistent irritation, and never share lip products.
Frequently asked questions
Should lip liner be darker than red lipstick?
It can be, but it does not have to be. A matching liner gives a seamless look; a deeper red or brown-red liner adds definition and may help balance very bright color.
Can I use concealer as lip primer?
A very thin layer can neutralize the edge, but too much can feel dry and change the lipstick color. A liner base is usually easier to control.
Why does my lipstick crack after blotting?
The layers may be too thick or your lips may need more comfortable prep. Use less product, allow each coat to settle and avoid piling powder directly over the entire lip.
For another beginner-friendly lip technique, see How to Create a Blended Brown Lip Combo. If you are comparing formulas, continue with 6 Red Lipsticks Worth Buying for Brown Skin.
Sources
Compare six satin, matte and long-wear options in the companion shopping guide.