
Old Hollywood Glam Makeup Tutorial: Soft Winged Eyes, Sculpted Skin and a Classic Red Lip
August 23, 2026 · v13cormier@gmail.com
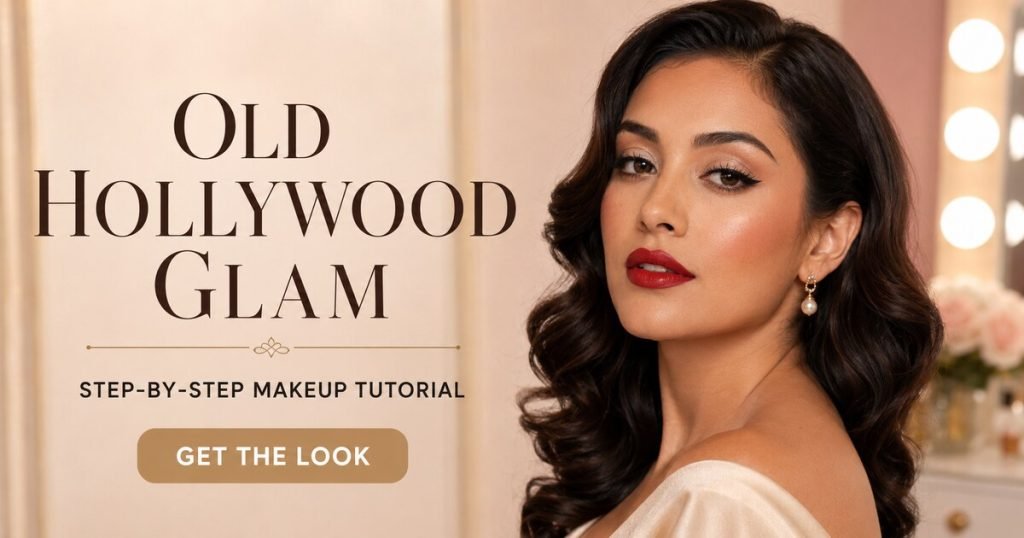
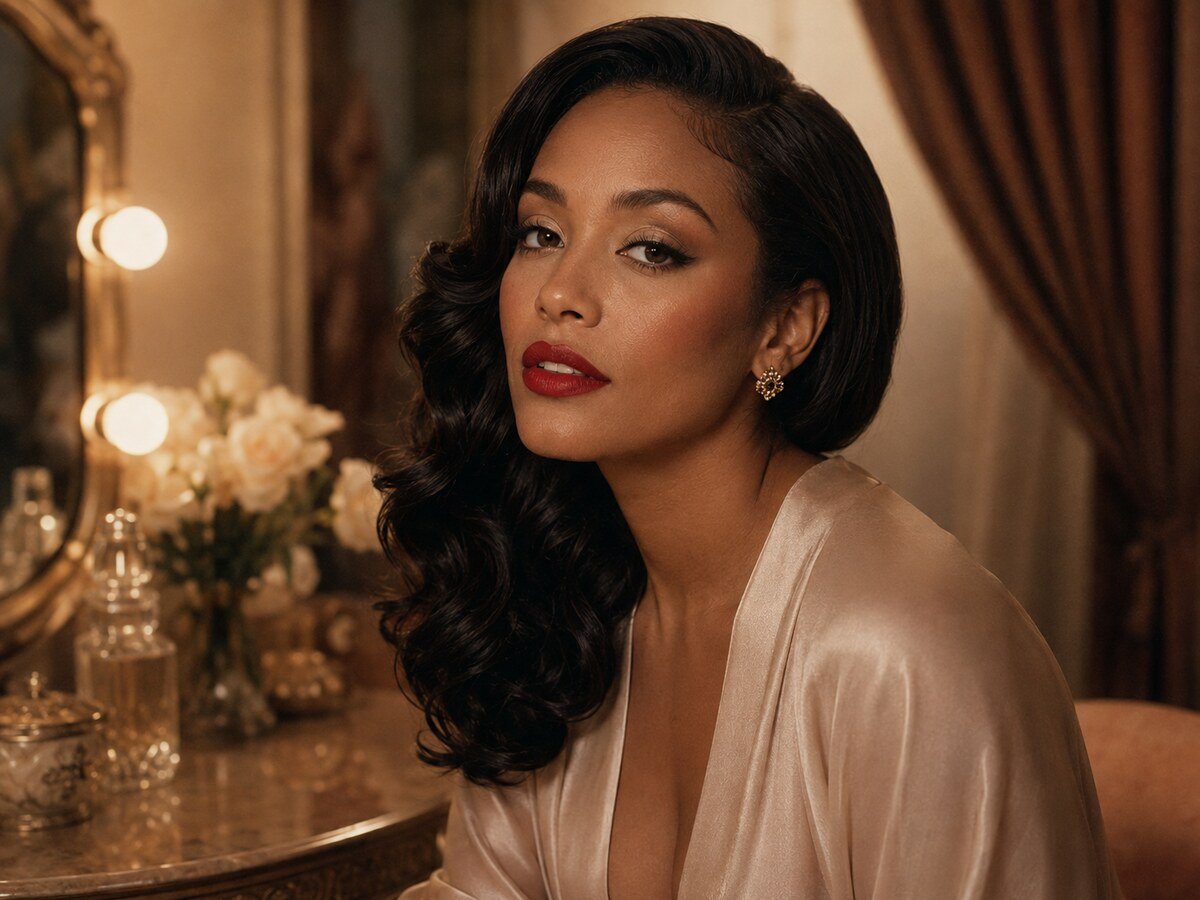
Old Hollywood glam is polished without hiding what makes skin look like skin. The reference look pairs softly luminous complexion, natural texture, neat brows, champagne-neutral lids, a warm taupe crease, a delicate black wing, separated lashes, softly sculpted cheeks and a classic red lip. This beginner-friendly version explains how to build each layer with control.
The inspiration photo guides the colors and placement only. The exact products used on the pictured model are unknown, and the generated editorial visuals feature different people.
Old Hollywood glam at a glance
- Finish: softly luminous rather than flat or heavily powdered
- Eyes: champagne lid, warm taupe crease and a short lifted wing
- Cheeks: subtle warmth, peach-rose blush and restrained highlight
- Lips: cleanly shaped satin red
Products and tools for this look
Choose complexion shades from your own undertone and depth—not from a photo. Test foundation along the jaw in daylight when possible, and select concealer based on whether you want a skin-matching spot correction or a slightly brighter under-eye effect.
Fenty Beauty Soft’Lit Naturally Luminous Longwear Foundation
A luminous-finish foundation option for building a thin, even base while allowing natural-looking dimension to remain visible.
Too Faced Born This Way Super Coverage Multi-Use Concealer
Use sparingly around the inner under-eye, sides of the nose and any areas where you want added coverage. Pick your own shade and undertone.
Juvia’s Place The Nubian Palette
A neutral palette with matte and shimmer tones that can create the champagne lid and warm taupe crease used in this tutorial.
MAC Brushstroke 24-Hour Liner
A pen-style liner option for sketching a thin lash line and a delicate outward flick in short strokes.
Fenty Beauty Cheeks Out Freestyle Cream Bronzer
A cream bronzer option for soft warmth and gentle sculpting. Select a shade that adds believable depth without looking gray or orange on your skin.
Rare Beauty Soft Pinch Liquid Blush
A liquid blush option for a peach, rose or warm terracotta flush. Begin with a very small amount and build gradually.
Rare Beauty Positive Light Liquid Luminizer
A liquid luminizer option for a controlled sheen on the high points of the face. Use less than you think you need.
MAC M·A·Cximal Silky Matte Lipstick
Choose a red that flatters your undertone: blue-reds often look crisp, warmer reds feel softer, and deeper reds create extra drama. Ruby Woo is one classic option within the range.
Real Techniques Everyday Essentials Makeup Brush Set
A practical set for complexion, cheeks and eye blending. Clean tools regularly and allow them to dry completely before use.
Glow & Grow Beauty Walmart Creator Storefront
Browse Vanessa’s approved Walmart storefront for makeup tools and beauty essentials that fit your routine.
How to achieve the look step by step
1. Prep a comfortable base
Start with clean hands and gently cleansed skin. Apply a moisturizer that suits your skin type, then broad-spectrum sunscreen for daytime. Let each layer settle before adding the next. If products roll or pill, reduce the amount and simplify the layers instead of rubbing harder.
2. Apply a thin layer of foundation
Dot foundation mainly through the center of the face and blend outward with a damp sponge or dense brush. Use a tapping motion where you want coverage. Keep freckles and natural texture visible if you like—the goal is evenness, not a mask.
3. Conceal strategically
Place small dots at the inner under-eye, outer corner, around the nose and on isolated areas of discoloration. Blend the edges before deciding whether you need more. Thick layers are more likely to crease or emphasize texture.
4. Define the brows softly
Brush brow hairs upward. Add fine, hairlike strokes only where the shape looks sparse, concentrating near the arch and tail. Soften the front with a clean spoolie so the brows frame the eyes without becoming the heaviest feature.
5. Build the champagne-and-taupe eye
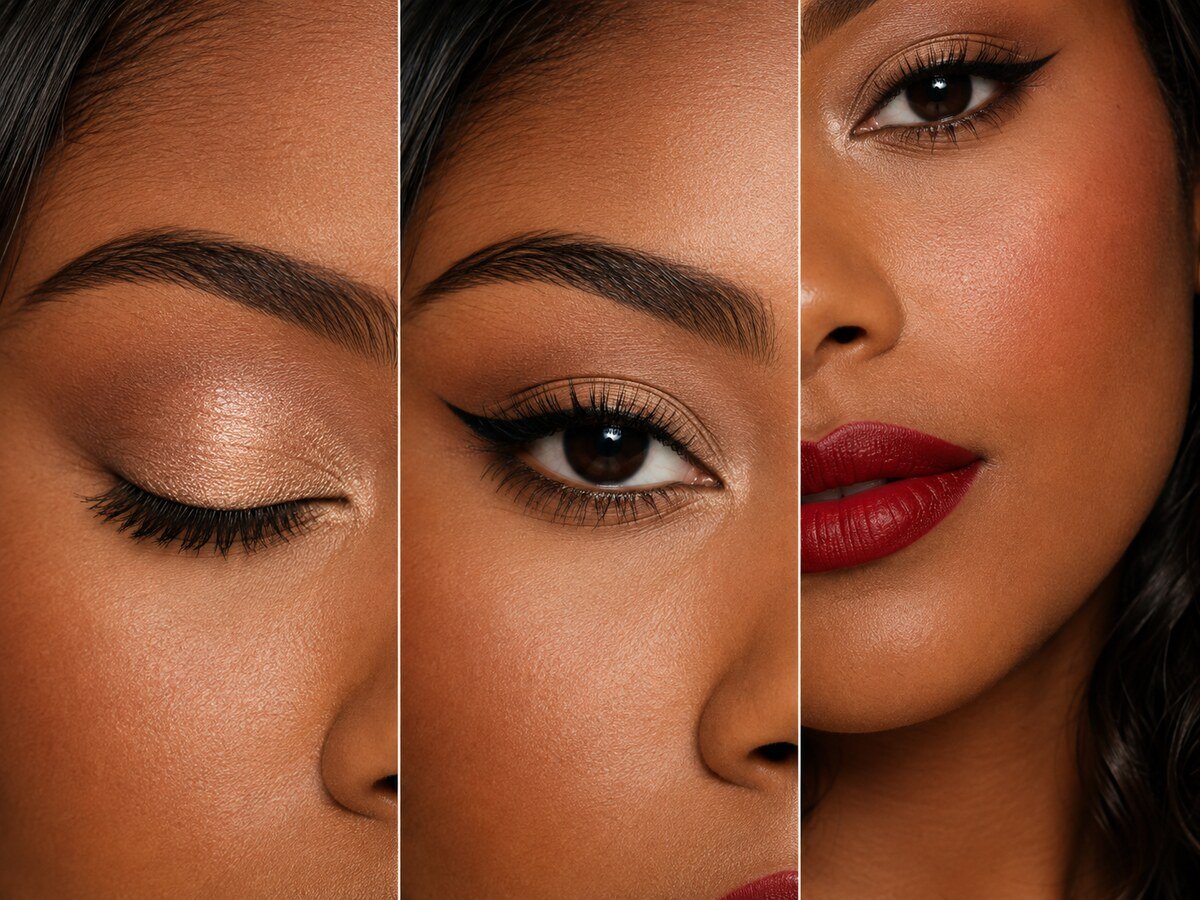
Sweep a matte warm taupe through the crease with a fluffy brush, keeping the deepest color at the outer third. Press a champagne-neutral shimmer onto the mobile lid. Blend the seam with a clean brush; avoid carrying shimmer too high if you want the classic softly defined effect.
6. Draw a delicate wing
Rest your elbow on a stable surface. Trace a thin line close to the upper lashes, then sketch a short flick that follows the rise of the lower lash line. Connect the flick back to the lash line in tiny strokes. Keep the wing slim and lifted rather than thick.
7. Separate the lashes and define below
Curl lashes carefully if desired, then apply mascara from root to tip with a slight wiggle. Comb through clumps before the formula dries. For the lower lash line, use the leftover taupe on a small brush and stop before it becomes smoky.
8. Add subtle sculpting and warmth
Place bronzer around the temple, beneath the cheekbone and lightly along the jaw. Blend upward so the cheek remains lifted. Choose a shade one or two steps deeper than your complexion that adds believable warmth; avoid assigning yourself a shade based on the model.
9. Tap on peach-rose blush
Place a tiny amount high on the apples of the cheeks and blend toward the temples. A peach-rose shade keeps the complexion warm and elegant. With concentrated liquid blush, add product in small increments.
10. Keep highlight restrained
Tap a pinhead-size amount onto the upper cheekbone and, if desired, the cupid’s bow. Skip the center of textured areas if you prefer a smoother-looking finish. The glow should appear when the light turns—not read as a stripe.
11. Shape and fill the classic red lip
Blot away excess balm. Map the cupid’s bow and outer corners first with the lipstick edge or a clean lip brush, then connect the lines and fill the center. Correct the outline with a small concealer brush if needed. Blot once and add a second thin layer for a more even satin finish.
12. Set only where needed
Press a small amount of powder around the sides of the nose, under-eye edges and center forehead if those areas crease or shine. Leave the high points less powdered. Finish with setting spray if it already works well with your complexion products.
Beginner mistakes to avoid
- Using too much foundation before assessing where coverage is needed
- Making the wing thick immediately instead of sketching it in small strokes
- Applying concentrated blush directly in a large amount
- Choosing contour or bronzer from a photograph instead of your own undertone
- Adding heavy highlight over texture you would rather not emphasize
Eye and makeup safety
Use cosmetics intended for the eye area, keep hands and tools clean, do not share eye products, and stop using anything that causes irritation. Never add water or saliva to mascara or liner. Replace products that smell unusual, change texture or appear contaminated. Remove the look gently at night with a cleanser appropriate for your skin, avoiding harsh scrubbing around the eyes.
Frequently asked questions
Can I create this look on mature or textured skin?
Yes. Use thinner complexion layers, place powder selectively and keep highlight controlled. Natural lines, pores and texture do not need to disappear for the makeup to look polished.
What if a red lip feels too bold?
Tap the lipstick on with a fingertip for a soft stain, or choose a muted brick-red. You can also keep the eye even simpler so the lip remains the focal point.
Do I need false lashes?
No. Separated mascara-coated lashes suit the reference beautifully. If you choose falsies, a short half-lash can preserve the delicate wing.
How do I make the two wings match?
Mark the endpoint on both eyes before connecting either wing. Work with the eyes open and compare often; they need to look balanced, not mathematically identical.
Keep learning
Next, read How to Stop Concealer From Creasing, compare this look with the Sunset Glam Makeup Tutorial, and build your kit with 7 Makeup Tools Beginners Actually Need.
Sources
- U.S. Food and Drug Administration: Eye Cosmetic Safety
- U.S. Food and Drug Administration: Using Cosmetics Safely
Ready to try the look?
Save this tutorial, choose shades for your own complexion and build each layer slowly. Tell us which step you want to master first: the soft wing or the red lip.