
How to Set Makeup Without Looking Cakey: A Beginner-Friendly 7-Step Routine
September 5, 2026 · v13cormier@gmail.com
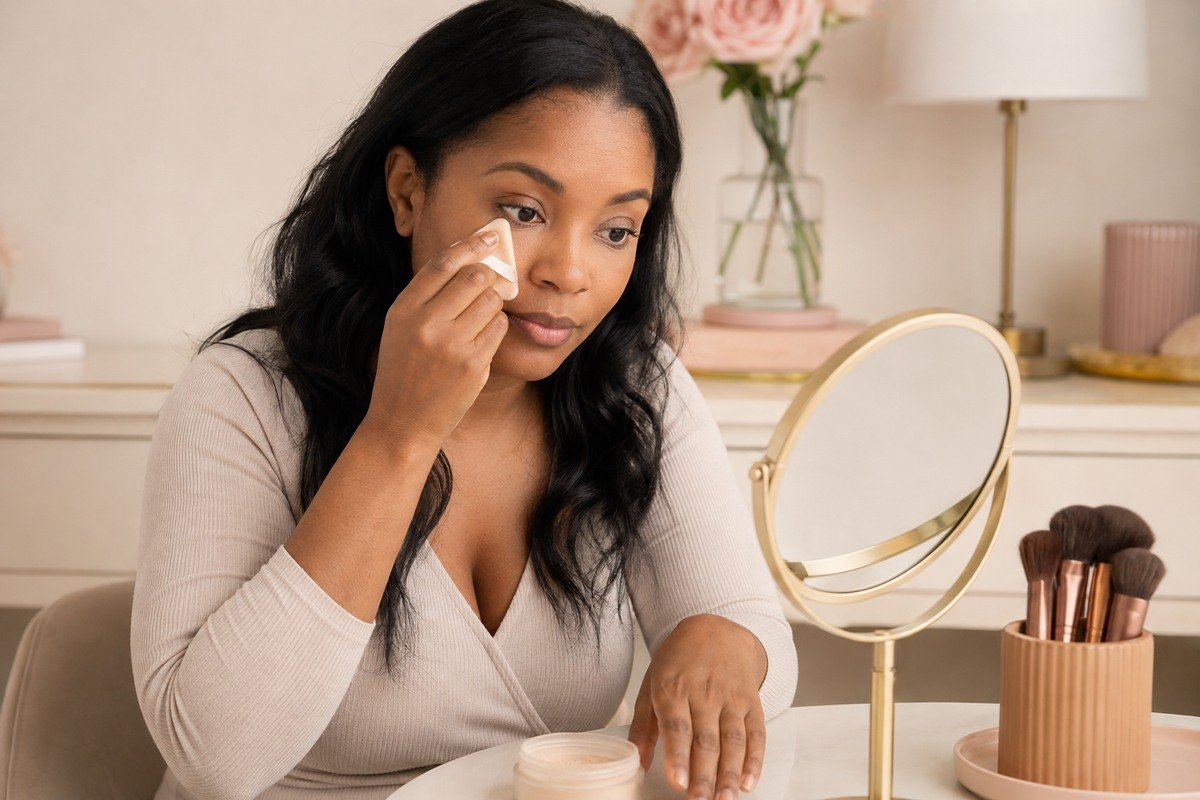
Setting makeup should help your complexion stay polished without hiding every pore, smile line or bit of natural skin texture. When powder looks heavy, the problem is often the amount, placement or order of application—not your face. This beginner-friendly routine shows you how to set only the areas that need help while keeping the rest of your base soft and skin-like.
The goal is not to make makeup completely transfer-proof or texture-free. The goal is controlled shine, smoother-looking layers and a finish that still looks like you.
Why Makeup Can Look Cakey After Setting
Cakiness usually happens when several dry or high-coverage layers collect in the same area. Too much skincare, foundation, concealer and powder can create thickness around the nose, mouth and under-eyes. Powder can also cling to dry patches when the skin was not comfortably moisturized or when the base has not had time to settle.
- Too much base: Thick foundation and concealer leave more product for powder to grip.
- Powder everywhere: Dry or naturally luminous areas may not need the same amount as the T-zone.
- Setting existing creases: Powder locks the creased product in place unless you smooth it first.
- The wrong tool: A loaded puff deposits more product than a lightly coated tapered brush.
- Repeated touch-ups: Adding powder over oil without blotting can build a visible paste-like layer.
What You Need
You do not need every item below. Choose one suitable setting powder, one application tool and—if you enjoy mists—one finishing or setting spray. Check the finish and shade on your own skin rather than copying somebody else’s complexion choice.
Rare Beauty Always an Optimist Pore Diffusing Primer
A hydrating gel primer intended to soften the look of pores and help extend makeup wear. Apply a thin layer only after skincare has settled.
Too Faced Born This Way Natural Finish Foundation
A medium-to-full-coverage foundation described by the brand as hydrating and natural-looking. Start with less than you think you need and add coverage only where wanted.
Too Faced Born This Way Ethereal Setting Powder
A lightweight loose powder intended to set makeup, absorb oil and leave a veil of luminosity. Choose a shade that blends invisibly into your complexion.
Juvia’s Place I Am Magic Loose Setting Powder
A loose setting powder offered in multiple complexion-focused shades for setting foundation, concealer or highlighted areas. Select by undertone and where you plan to place it.
Fenty Beauty Invisimatte Instant Setting + Blotting Powder
A universal sheer pressed powder designed to blur, absorb shine and touch up makeup. It is especially useful for controlled T-zone application.
How to Set Makeup Without Looking Cakey
Step 1: Prep With Thin, Comfortable Layers
Apply your usual moisturizer and daytime sunscreen, then allow them to settle before makeup. If your face still feels slippery, gently press a clean tissue over the surface instead of rubbing. Add primer only where it solves a specific problem, such as visible pores or quick shine. Stacking thick skincare and primer everywhere makes pilling and heaviness more likely.
Step 2: Keep Foundation and Concealer Targeted
Begin with a thin layer of foundation from the center of the face outward. Add concealer only where you want extra coverage. Under the eyes, one or two small dots may be easier to control than a large painted triangle. Blend the edges into the foundation so there is no thick ridge for powder to catch.
Step 3: Let the Base Settle, Then Remove Creases
Wait about a minute so the wet layers can settle. Look up slightly and tap out any under-eye creases with a clean fingertip, small sponge or concealer brush. Smooth around the nostrils and smile lines too. Powder immediately after smoothing each area so you are setting a flat layer—not preserving a crease.
Step 4: Choose Puff or Brush Based on the Area
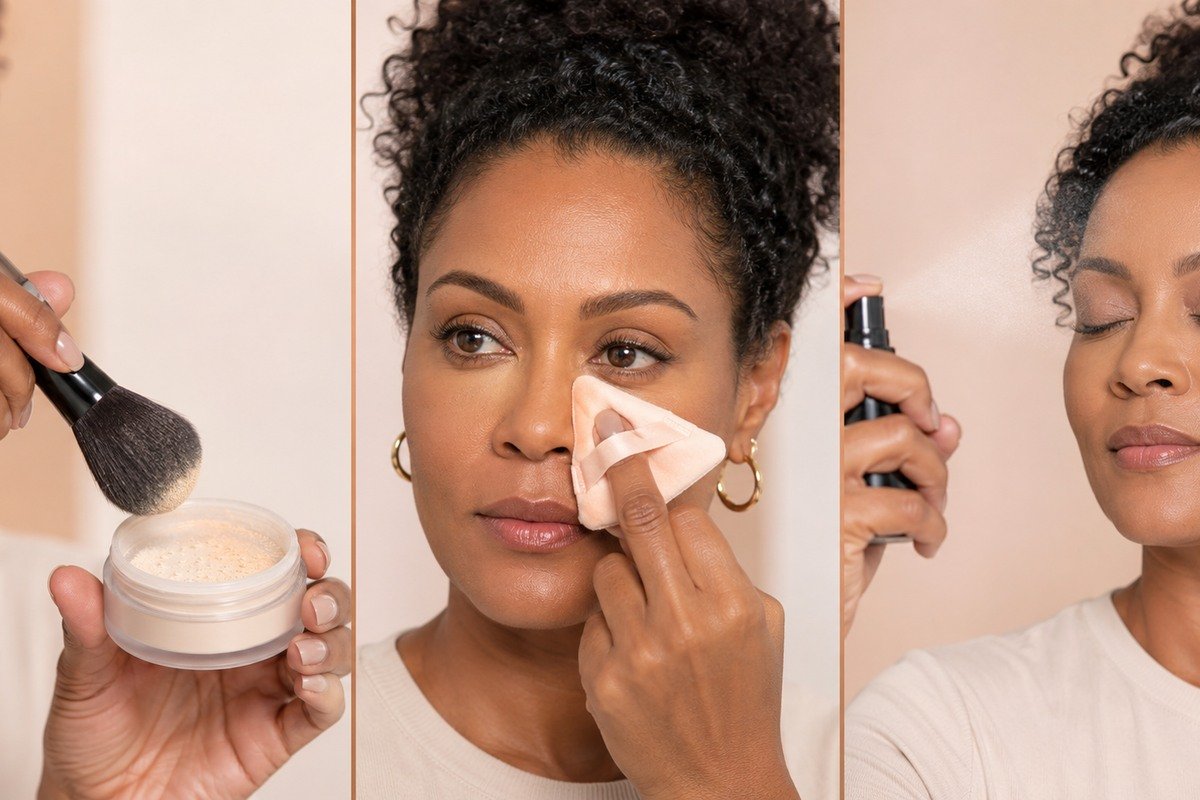
A puff gives more precision and control under the eyes, beside the nose and over small areas that crease. A tapered fluffy brush gives a lighter veil across the forehead, chin or outer face. Dip only the edge of the puff into powder, work it into the back of your hand, then press—do not drag. For a brush, swirl lightly, tap away visible excess and use gentle rolling or sweeping motions.
Real Techniques Miracle 2-In-1 Powder Puff
A dual-textured puff designed for powder as well as liquid and cream formulas. Use the precision point for under-eyes and the flat edge for broader areas.
Real Techniques Makeup Setting Brush
A tapered brush designed for precise powder placement, under-eye setting and highlighting. It is useful when you want less product than a puff deposits.
Step 5: Set the High-Movement and High-Shine Zones First
Press a whisper-thin layer beneath the eyes, around the nostrils, through the center of the forehead and on the chin. If your cheeks are dry or you prefer radiance, leave them mostly unpowdered. If you are oily, add another very light pass only after checking the first layer in natural light.
Step 6: Remove Visible Excess Before It Builds
Use a clean fluffy brush to sweep away any powder you can visibly see. If an area already looks dry, do not add more. Warm a clean sponge between your fingers and gently press over the spot to reconnect the layers. This small correction usually looks better than covering the texture with another product.
Step 7: Finish With the Right Mist
Choose a hydrating multi-use mist when the finish looks too powdery, or a dedicated setting spray when extending wear is the priority. Hold the bottle at the distance directed on its label, close your eyes and mist lightly. Let it air-dry; fanning or touching the face can disturb the surface.
Rare Beauty Always an Optimist 4-In-1 Mist
An ultra-fine mist intended to hydrate, prime, set and refresh. This is a useful choice when you want to soften a powdery appearance with a glow-boosting finish.
MAC Fix+ Stay Over Alcohol-Free 24HR Setting Spray
An alcohol-free fine mist specifically intended to set makeup with weightless wear. Spray according to the label and avoid inhaling the mist.
How to Choose a Setting-Powder Shade
A powder labeled translucent is not automatically invisible on every complexion. Test it in daylight and with flash photography if you expect to be photographed. A shade close to your skin tone is the safest everyday choice. A slightly brightening shade can work under the eyes, but it should still blend smoothly without looking gray, chalky, orange or overly yellow.
Undertone matters too. Compare the powder to your neck and chest rather than choosing from a model’s photo. Deep complexions may prefer richer translucent or complexion-toned formulas; fair and light complexions may find very deep or saturated powders change the base color.
Touch-Up Without Adding Cake
- Blot surface oil with a clean tissue or blotting sheet.
- Smooth any separated foundation with a clean fingertip or sponge.
- Press the smallest amount of powder only onto remaining shine.
- Do not repeatedly powder dry under-eyes or textured areas.
Safety and Hygiene Notes
- Keep powders and sprays out of your eyes, and stop using any cosmetic that causes irritation.
- Do not share puffs or eye-area tools. Wash reusable tools regularly and let them dry completely.
- Replace products that smell different, change texture or show contamination. Follow the period-after-opening symbol and brand directions.
- Remove makeup gently before bed. If irritation or a persistent rash develops, discontinue use and seek advice from a qualified professional.
Frequently Asked Questions
Do I need to powder my whole face?
No. Many people need powder only beneath the eyes, around the nose and through the T-zone. Targeted placement often looks fresher.
Is baking necessary?
No. Leaving a thick layer of powder on the face is optional and can emphasize dryness or texture. Beginners can get a polished result by pressing in a thin layer and removing excess immediately.
Should I use setting spray before or after powder?
For a simple routine, use powder first and mist last. Advanced layering can vary, but adding more stages is not automatically better.
Why does my under-eye still crease?
Natural eye movement means some creasing can happen. Use less concealer, smooth the fold before powder and avoid trying to erase every line with extra product.
Continue Your Glow & Grow Routine
For a smoother base before you set, read How to Prep Dry, Textured Skin for Makeup Without Pilling. If under-eye texture is the main concern, continue with How to Stop Concealer From Creasing.
Save This 7-Step Routine
Keep it beside your vanity and remember: thin layers, targeted powder and a light hand will usually look more polished than adding more.
Sources
- Fenty Beauty: Invisimatte Instant Setting + Blotting Powder
- Too Faced: Born This Way Ethereal Setting Powder
- Juvia’s Place: I Am Magic Loose Setting Powder
- Rare Beauty: Always an Optimist 4-In-1 Mist
- MAC Cosmetics: Fix+ Stay Over Alcohol-Free 24HR Setting Spray
- Real Techniques: Miracle 2-In-1 Powder Puff