
How to Patch-Test a New Skincare Product: A Beginner-Friendly 5-Step Routine
September 6, 2026 · v13cormier@gmail.com
Affiliate disclosure: This article contains affiliate links. Glow & Grow Beauty may earn a commission from qualifying purchases at no additional cost to you.
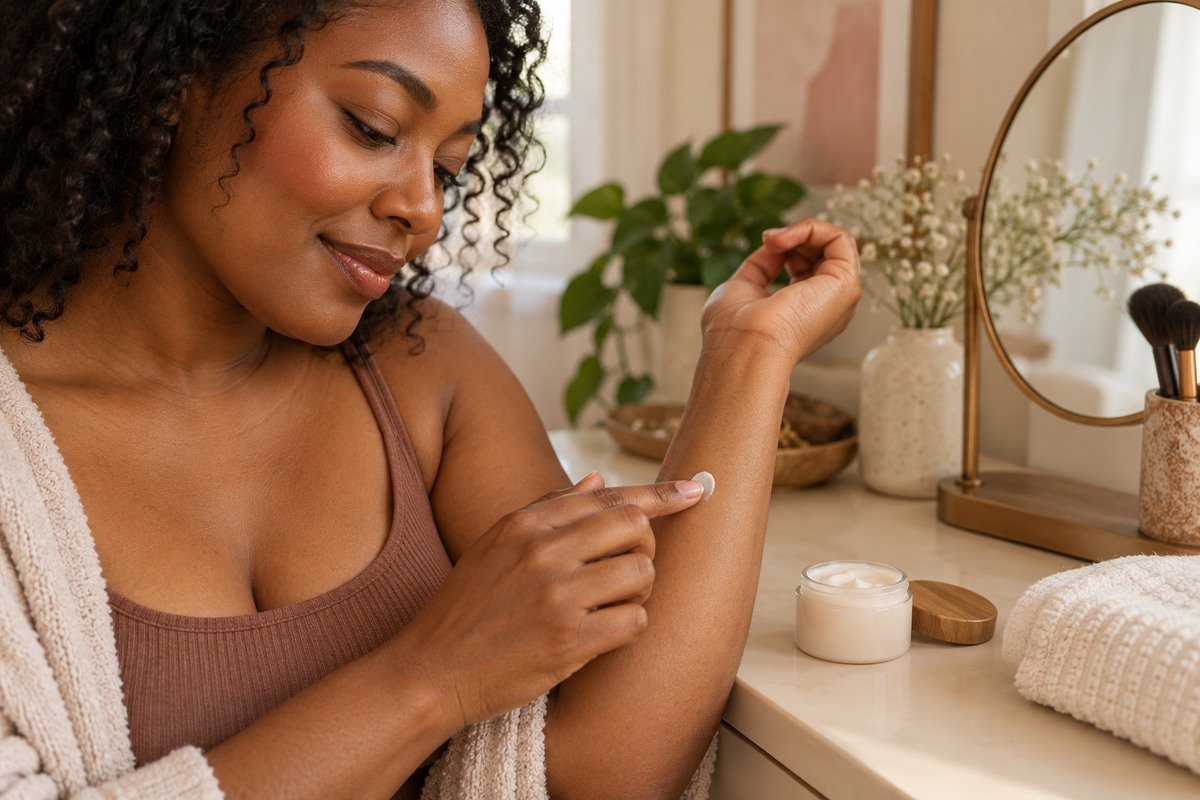
A new serum, moisturizer or treatment can look perfect on paper and still disagree with your skin. An at-home patch test gives you a simple way to screen a product on one small area before you spread it across your face. It cannot predict every delayed reaction or replace medical allergy testing, but it can help you introduce products more thoughtfully.
This beginner-friendly routine follows the American Academy of Dermatology’s advice to test a product on a quarter-sized area on the underside of the arm or bend of the elbow, twice daily for seven to ten days. Always follow the product label first, especially for prescription products or formulas with specific directions.
Quick distinction
An at-home product test is a screening step—not a diagnosis. Dermatologists use formal patch testing to investigate allergic contact dermatitis. If you have a history of serious reactions, widespread irritation or persistent symptoms, ask a board-certified dermatologist what is appropriate for you.
What You Need
- The one new product you want to test
- A gentle cleanser and clean towel
- Your phone calendar or a simple note to track the dates
- Optional: a photo at the same time each day, in similar lighting
Test only one new product at a time. If you start several formulas together and irritation appears, it becomes much harder to identify the likely trigger.
How to Patch-Test a New Skincare Product
Step 1: Read the label before you begin
Check how often the product is meant to be used, whether it should be rinsed off and whether the label includes warnings. Do not test on broken, freshly shaved or already irritated skin. If the product is prescribed, follow your prescriber’s directions rather than this general routine.
Step 2: Choose one small test area
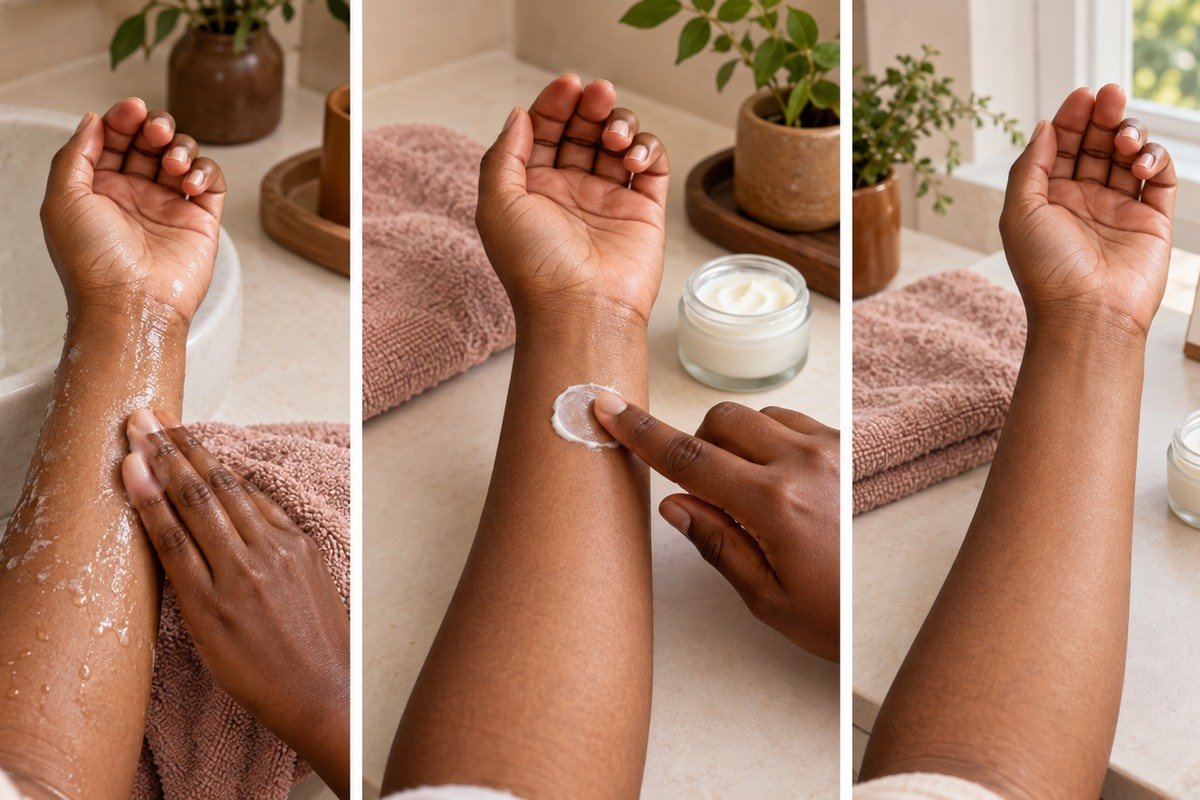
Use a quarter-sized spot on the underside of your arm or inside the bend of your elbow. Choose an area you can keep reasonably clean and check easily. Wash gently, pat dry and avoid layering body lotion, perfume or another active product over the test spot.
Step 3: Apply the product the way it is meant to be used
For a leave-on product, apply a thin, normal layer and leave it on. For a cleanser, mask or other wash-off formula, keep it on only for the time listed in the instructions, then rinse. The AAD recommends repeating the application twice daily for seven to ten days unless the label directs otherwise.
Step 4: Watch the area without adding other products
Look for redness, itching, swelling, burning, blistering or a new rash. A quick photo or short note can help you remember when a change started. Do not cover the area with a bandage unless a clinician tells you to; occlusion can change how strongly some ingredients affect the skin.
Step 5: Decide whether to stop or proceed carefully
If you develop a reaction, stop using the product and wash the area gently. Do not keep reapplying it to “push through.” If your skin stays calm through the full test period, introduce the product to your face gradually and keep the rest of your routine familiar. A successful arm test reduces uncertainty, but it does not guarantee that delicate facial skin will respond the same way.
Safety note
Seek urgent medical help for trouble breathing, facial or throat swelling, faintness or another severe reaction. Contact a dermatologist if a reaction is painful, widespread, blistering or not improving after you stop the product.
Beginner-Friendly Moisturizers to Consider
These are fragrance-free options with different textures. “Fragrance-free” does not mean reaction-proof, so patch-test any new formula and choose by your own skin needs. Product names and intended uses were checked against official brand pages on September 6, 2026.
Lightweight lotion
Vanicream Daily Facial Moisturizer
A fragrance-free facial moisturizer with hyaluronic acid and ceramides, designed as a lightweight daily option for sensitive skin.
Gel moisturizer
Aveeno Calm + Restore Oat Gel Moisturizer
A lightweight, fragrance-free gel moisturizer made for sensitive skin and formulated with prebiotic oat and feverfew.
Rich cream
CeraVe Moisturizing Cream
A fragrance-free face-and-body cream with three essential ceramides and hyaluronic acid, positioned for normal-to-dry skin.
Everyday face cream
e.l.f. Holy Hydration! Face Cream — Fragrance Free
A fragrance-free face cream with hyaluronic acid, niacinamide and peptides, made for daily hydration.
Common Patch-Test Mistakes
- Testing three new products together: you lose the ability to isolate the likely cause of a reaction.
- Using a damaged area: freshly shaved, scratched or irritated skin is not a neutral test site.
- Trying it once and calling it done: some reactions take repeated exposure to appear.
- Assuming “hypoallergenic” is a guarantee: the FDA says there is no federal standard governing the use of that term.
- Confusing fragrance-free with risk-free: any cosmetic ingredient can potentially be a problem for a particular person.
Frequently Asked Questions
Can I patch-test on my jawline?
The underside of the arm or bend of the elbow is easier to monitor and is the AAD’s suggested at-home location. After a calm test there, you can still introduce the product slowly to your face.
What if a product tingles?
Do not assume discomfort means a product is working. Follow the label, and stop if you develop persistent burning, itching, redness, swelling or a rash.
Does “dermatologist tested” mean it cannot irritate me?
No cosmetic label can guarantee that every person will tolerate a product. Read the full ingredient list and patch-test new formulas based on your own history.
What should I do after a successful test?
Add the product to your facial routine gradually, keep other products stable for several days and continue watching for delayed irritation.
Keep Building a Calm, Simple Routine
Once you know a product agrees with your skin, introduce it with the same patience you used for the patch test. You may also like our guides to layering skincare without pilling, prepping dry, textured skin for makeup and removing long-wear makeup gently.