
How to Apply Strip Lashes Without Lifting Your Eyeliner: A Beginner-Friendly 7-Step Routine
October 15, 2026 · v13cormier@gmail.com

Affiliate disclosure: This article contains affiliate links. If you shop through them, Glow & Grow Beauty may earn a commission at no additional cost to you. Recommendations are based on current manufacturer information—not personal testing—and prices and availability can change.
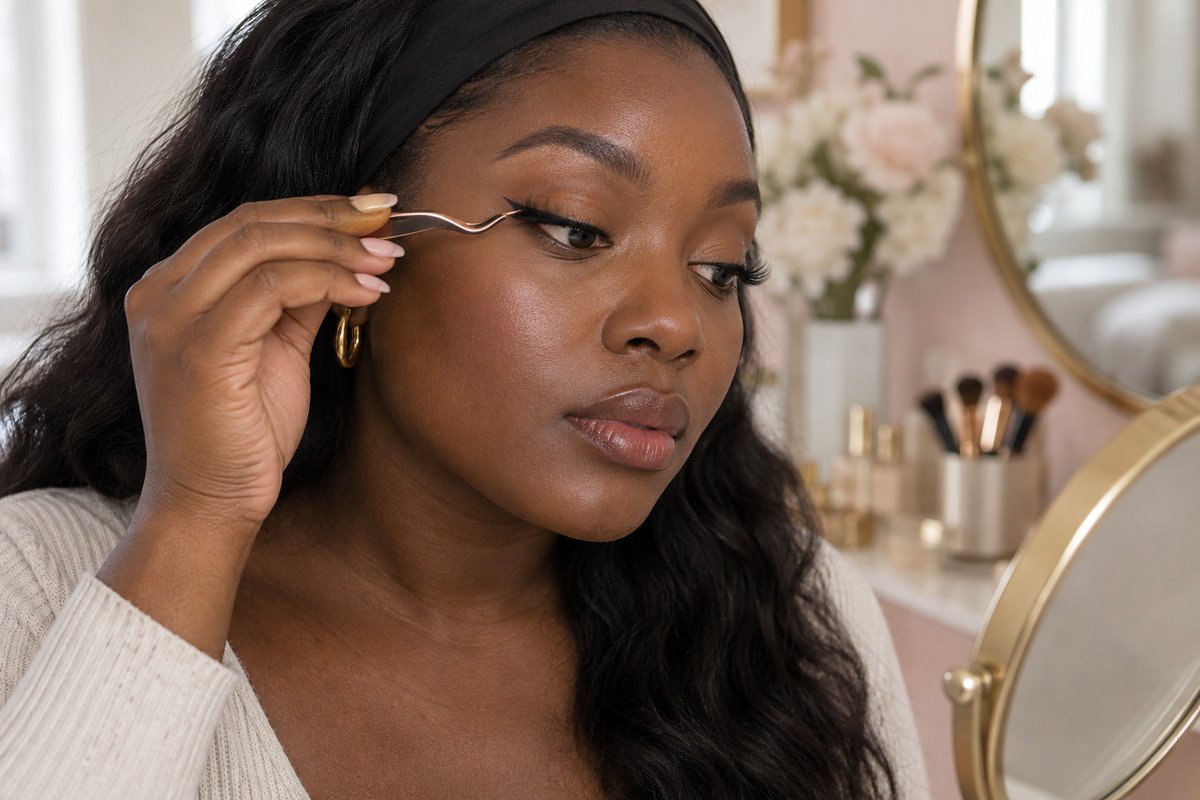
Strip lashes can transform a soft glam look, but beginners often struggle with a band that slides, lifts at the corners or smudges carefully drawn eyeliner. The fix is usually not more glue. A better fit, a very thin adhesive layer and patient placement give you more control.
This seven-step routine keeps the technique simple while respecting normal eye shape and natural skin texture. Your eyeliner may still need one tiny touch-up, but you should not have to redraw the entire wing.
Eye-safety first
Wash your hands, use clean tools and never share eye cosmetics. Do not apply lashes if the eye or surrounding skin is irritated, inflamed or infected. Keep adhesive out of the eye, stop immediately if a product causes pain or persistent irritation, and follow the adhesive and remover labels.
What you will need
- One pair of lightweight strip lashes
- Strip-lash adhesive with a precise applicator
- A rounded lash applicator or clean fingers
- Small clean grooming scissors
- Mirror, eyeliner and optional mascara
- Compatible eye-makeup remover and cotton pads for removal
How to apply strip lashes in 7 beginner-friendly steps
Step 1: Finish your shadow and eyeliner
Apply eyeshadow and draw your wing before opening the lash adhesive. Keep the lash line free of heavy cream or oil, which can make a band slide. If you use mascara, apply a light coat now and let it dry. Heavy mascara is not required for the strip to work.
Step 2: Measure the band before adding glue
Gently lift the strip from its tray by the band, not the fibers. Rest it along your lash line without adhesive. The band should begin slightly away from the inner corner and stop before it pulls past the outer corner. If it is too long, remove it from your eye and trim a tiny section from the outer end. Never cut a lash while it is against your eyelid.
Step 3: Soften the band
Hold both ends and gently flex the band into a shallow curve. This helps a new strip follow the eye instead of springing straight. Do not stretch the band or tug the lash fibers.
Step 4: Apply a thin line of adhesive
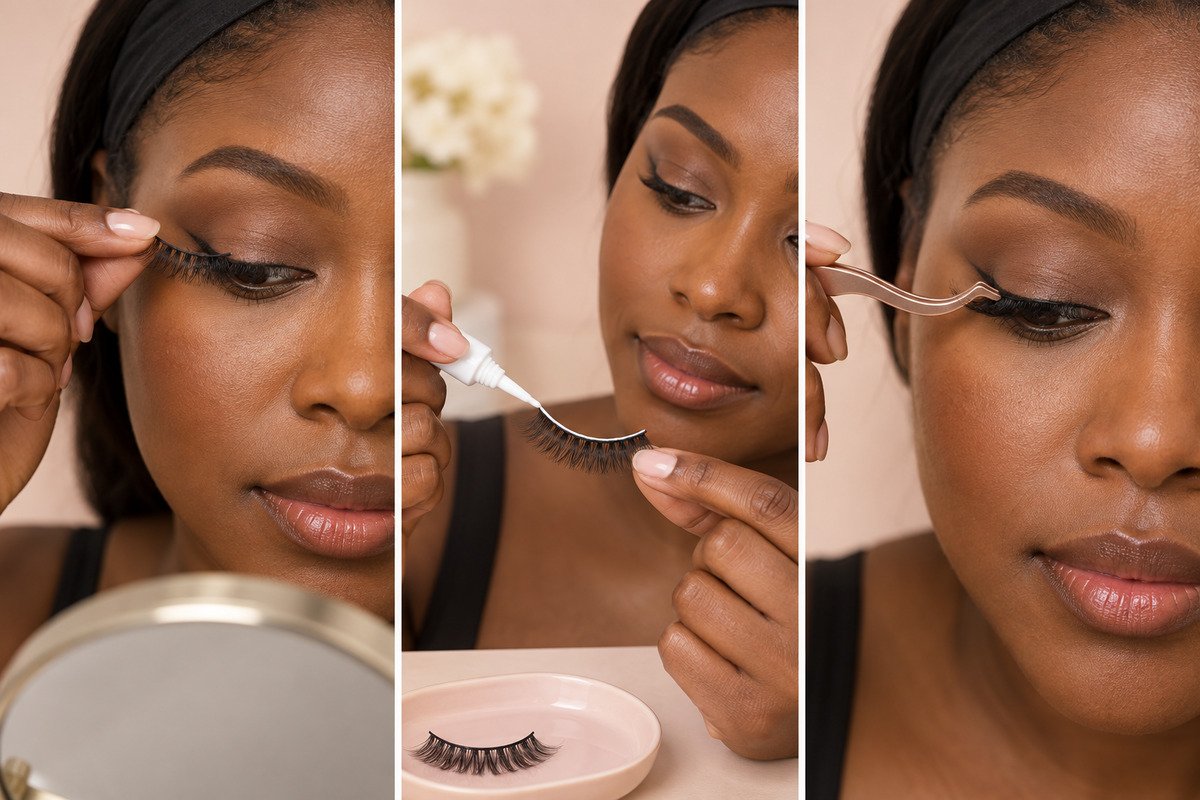
Place the strip on a clean surface or hold it by the fibers with clean fingers. Paint a thin, even layer of lash adhesive along the band. A heavy bead takes longer to set and is more likely to slide onto your liner. Keep the adhesive off your eyelid until it reaches the tack stage described on its label.
Step 5: Wait for the labeled tack time
Fresh glue is often too wet for controlled placement. Wait exactly as the label directs; KISS, for example, tells users of its So Wispy collection to wait about 30 seconds. The adhesive should feel tacky rather than runny. Do not wave the strip near your eye.
Step 6: Place the center, then the corners
Look slightly downward into a mirror. With a rounded applicator, lower the center of the band just above your natural lashes. Set the outer corner, then the inner corner. Keep your movements small so the band does not drag across the wing. If the placement is clearly wrong, remove the strip gently and start again instead of sliding wet glue along the lid.
Step 7: Press, let it set and touch up tiny gaps
Once placement looks right, use the rounded applicator to press the strip band and natural lash line together without pinching skin. Let the adhesive finish setting. If a small pale gap remains, tap a little eyeliner over that spot only. Avoid soaking the lash band with wet liner.
Beginner lash tools to consider
Natural wispy strip lashes
KISS So Wispy False Eyelashes Multipack — Curated Collection
A five-pair assortment of lightweight wispy styles. The variety lets a beginner compare shapes before committing to one look.
Clear brush-on adhesive
DUO Brush-On Striplash Adhesive — Clear
A brush-on format that can make it easier to control how much adhesive reaches the band. Follow the package instructions and keep it out of the eye.
Rounded placement tool
Tweezerman Lash Assist
A curved lash-placement tool for holding the strip and pressing the band after placement. Keep it clean and use gentle pressure.
Targeted removal
DUO Lash Glue Remover
A remover intended to help loosen lash adhesive. Confirm compatibility with your adhesive and follow the label before bringing any remover near the eye.
Troubleshooting common lash problems
The inner corner keeps lifting
The band may be too long, too straight or placed too close to the tear duct. Remove it, check the fit and trim only from the outer end while the strip is off the eye.
The strip slides over the liner
The adhesive may still be too wet or applied too heavily. Use a thinner layer and wait for the tack time printed on the package.
The band looks obvious
Choose a clear or flexible band and place it close to the natural lash line. Touch up only tiny visible gaps after the glue has set.
Your eyes start watering
Stop. Remove the strip gently and follow the product directions. If adhesive enters the eye or irritation continues, rinse as appropriate and seek medical advice.
How to remove strip lashes safely
- Wash your hands and close the eye.
- Saturate a cotton pad with a remover that is compatible with the adhesive.
- Press it against the band for several seconds; do not scrub.
- Gently peel the loosened strip away without pulling your natural lashes.
- Remove remaining eye makeup and adhesive according to the labels.
- Clean reusable lashes as directed or discard single-use styles.
Frequently asked questions
Should I apply eyeliner before or after strip lashes?
Apply most of your liner first. After the adhesive sets, use a tiny amount only where the band needs blending. This reduces dragging and keeps the wing easier to preserve.
Do I need mascara?
No. A light coat can help your natural lashes visually blend with the strip, but it is optional. Heavy mascara can shorten the life of reusable lashes.
Can I reuse strip lashes?
Only if the manufacturer labels them reusable and they remain clean and undamaged. Do not share them, and discard any pair that becomes misshapen or irritating.
Can I sleep in strip lashes?
Remove temporary strip lashes before sleeping unless the product specifically says otherwise. Leaving a band and adhesive on longer than directed can increase irritation and make removal harder.
Complete your beginner glam routine
Pair your lashes with our Old Hollywood glam tutorial and learn how to set makeup without looking cakey.