
How to Create a Blended Brown Lip Combo: A Beginner-Friendly 6-Step Routine
August 25, 2026 · v13cormier@gmail.com
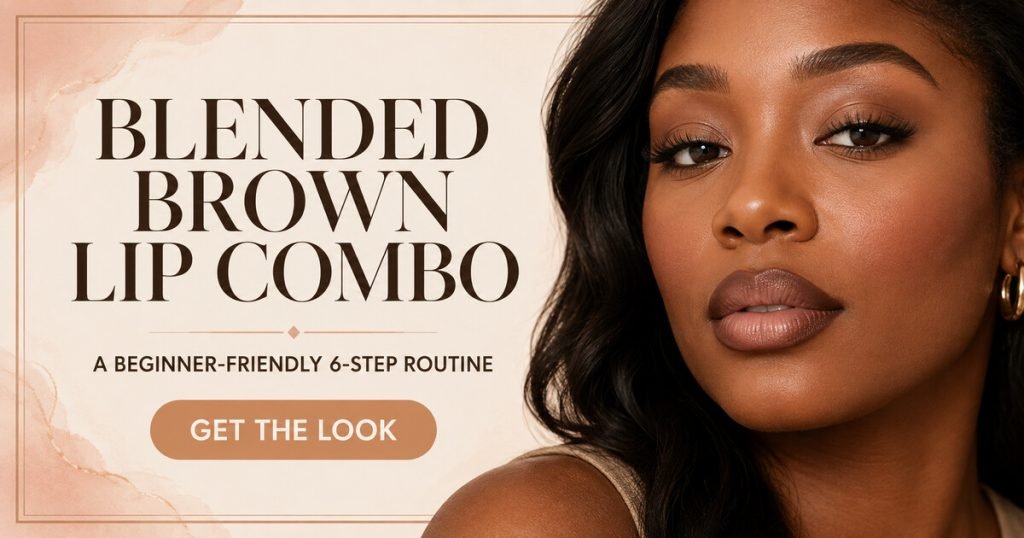
A brown lip combo can look soft, sculpted and polished without feeling complicated. The most beginner-friendly version uses a brown liner to create depth around the edge, a nude or warm neutral color through the center, and gloss only where you want extra dimension.
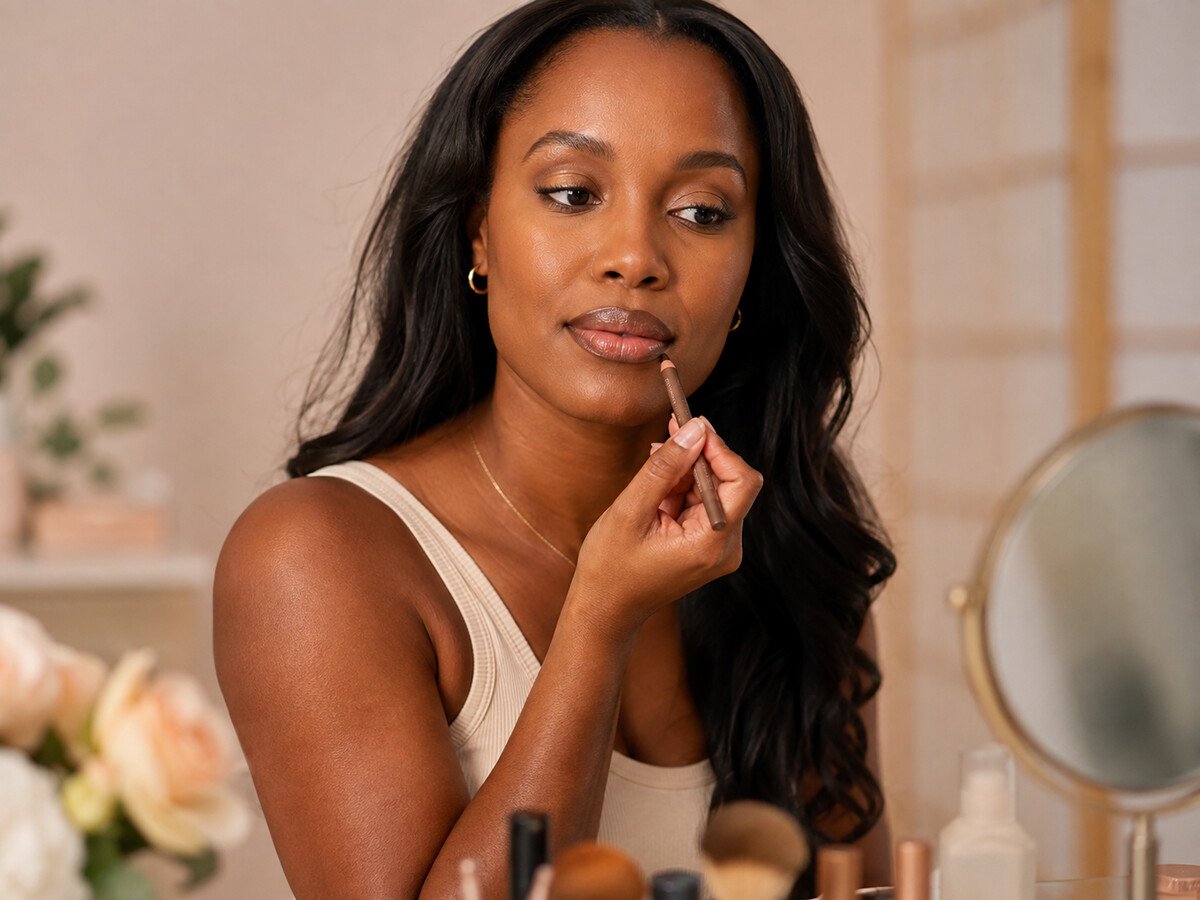
This routine follows Vanessa’s preferred shaping method: begin at the outer corners and work inward toward the Cupid’s bow with short strokes. That approach lets you build symmetry gradually instead of trying to draw one perfect line.
The quick formula
- Depth: a liner about one or two steps deeper than your natural lip tone or center color.
- Blend: diffuse the liner inward so there is no hard ring.
- Dimension: add a compatible nude lipstick or gloss through the center.
Before you start: choose a brown that works with your undertone
“Brown” is a family, not one universal shade. Rosy-brown or mauve-brown liners can complement cooler undertones. Caramel, chestnut and red-brown tones often suit warm undertones. Neutral browns are flexible when you want the lipstick—not the liner—to lead. Test the combination on your own lips or jaw area when possible; do not choose a shade from someone else’s photograph.
Aquaphor Lip Repair
A fragrance-free lip-care option designed to relieve dryness. Apply a thin layer while you do the rest of your makeup, then blot before liner so the pencil can grip.
MAC Lip Pencil in Chestnut
MAC describes Chestnut as a rich warm brown made for defining and shaping. Use short, light strokes and deepen only after checking symmetry.
MAC M·A·Cximal Sleek Satin Lipstick in Velvet Teddy
A warm neutral lipstick option for the center of a brown-lined lip. Apply lightly at first so the liner remains visible.
Juvia’s Place The Coffee Shop Lip Gloss in Honey Honey
A creamy high-shine nude gloss from Juvia’s Place’s Coffee Shop range. Place it mainly through the center for a softly blended finish.
Fenty Beauty Gloss Bomb Universal Lip Luminizer in Fenty Glow
A high-shine conditioning gloss option. Tap a small amount over the center rather than covering the entire liner at once.
Retractable Lip Brush
A small covered brush helps soften the liner inward and keeps the center color controlled. Wash it regularly and let it dry completely before closing.
Pointed Cotton Makeup Swabs
Use a clean pointed swab with a tiny amount of makeup remover to sharpen an uneven edge without adding more liner.
Glow & Grow Beauty Walmart Storefront
Browse Vanessa’s approved Walmart creator storefront for lip-care and makeup options. Check the product page for current details before ordering.
How to create the look in 6 steps
1. Clean, moisturize and blot
Start with clean lips. Apply a thin layer of a comfortable, non-irritating balm and give it a few minutes to settle. Blot gently with a tissue before makeup. The goal is flexible lips—not a slippery coating that makes liner move.
2. Map the outer corners first
Relax your mouth. Place the liner at one outer corner and sketch inward about one-third of the way using tiny strokes. Repeat on the other side. Look straight into the mirror before adding more. This corner-first method establishes the widest points of the shape and makes it easier to keep both sides balanced.
3. Connect toward the Cupid’s bow and lower center
Continue the upper outline from each side toward the Cupid’s bow. Define the two peaks last, using light marks instead of one deep “X.” On the lower lip, work from both corners toward the center. Stay on your natural lip line at first; if you choose to slightly overline, keep the adjustment subtle and avoid extending far beyond the corners.
4. Shade inward and soften the border
Turn the pencil sideways and feather color just inside the outline, concentrating the deepest color at the corners. Use a clean lip brush or fingertip to blur the inner edge. Keep the center lighter. This gradient prevents the “dark ring” effect and gives the lips dimension.
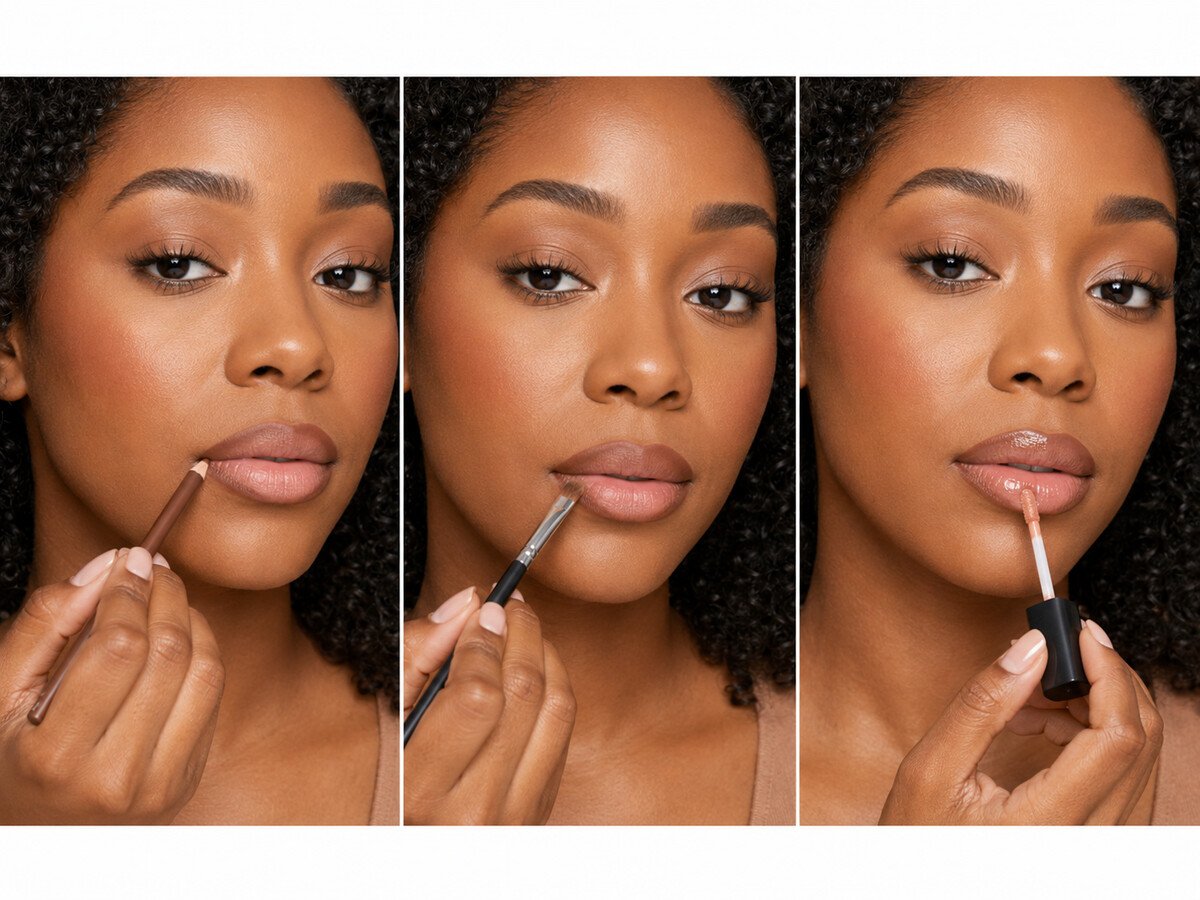
5. Add the center color
Press a small amount of nude lipstick or creamy gloss onto the center of the upper and lower lips. Pat outward until it meets the softened liner. Add more only if needed. If the center looks too pale or disconnected, tap a little liner over the transition and blend again.
6. Add shine, correct and set
For a fuller-looking, glossy finish, place clear or warm nude gloss mainly at the center. To keep the perimeter crisp, clean uneven spots with a pointed swab. For longer wear, blot once, rebuild a thin layer of color, and keep gloss away from the very edge. Carry the liner and gloss for touch-ups instead of repeatedly layering product over food or debris.
Three easy variations
- Soft everyday nude: use a neutral brown liner with a beige, caramel or rosy nude center.
- Warm coffee gloss: feather the liner farther inward and top with a warm nude gloss.
- Defined satin lip: use a satin lipstick in the center, blot, then add only a pin-sized touch of gloss.
Common mistakes to avoid
- Drawing one heavy line before checking symmetry.
- Applying thick balm immediately before liner.
- Choosing a center shade so pale that it creates a sharp, unblended stripe.
- Dragging gloss over the entire lip and dissolving the gradient.
- Sharing lip pencils, gloss wands or brushes.
Lip safety and removal
Do not share lip products. Stop using a product if it causes burning, swelling or persistent irritation. Avoid applying makeup over active cold sores, open cuts or suspected infection, and seek medical guidance when symptoms are severe or do not improve. At night, remove the combo gently with your usual makeup remover, rinse as directed, and finish with a comfortable balm. The American Academy of Dermatology recommends avoiding licking, biting and picking at chapped lips and using non-irritating lip care.
Frequently asked questions
Does the liner need to be darker than my skin?
No. A practical starting point is a liner one or two steps deeper than your natural lip tone or chosen center color. The amount of contrast is personal.
Can I make this combo matte?
Yes. Replace the gloss with a satin or matte lipstick, press with a tissue, and keep layers thin. Prep matters more because matte textures can emphasize dry flakes.
Why does my brown liner look gray?
The undertone may be too cool for the center color or your natural lip tone. Try a warmer chestnut, caramel or red-brown pencil, or bridge the colors with a warmer nude lipstick.
How do I keep gloss from bleeding?
Use less product, keep gloss away from the outermost edge, and preserve a complete liner border.
Keep building your makeup routine
Pair this lip with the soft wing and sculpted complexion in our Old Hollywood glam tutorial, or try the richer eye colors in the Sunset Glam tutorial. For the smoothest base, see how to reduce concealer creasing.
Ready to build your combo?
Choose your liner depth first, then experiment with one center color at a time. Save this guide and tell us: do you prefer a glossy, satin or matte brown lip?
Sources
- American Academy of Dermatology: tips for healing dry, chapped lips
- MAC Cosmetics: Lip Pencil
- Juvia’s Place: The Coffee Shop Lip Gloss
- Fenty Beauty: Gloss Bomb Universal Lip Luminizer
- Aquaphor: Lip Repair