
How to Make Makeup Last All Day: A Beginner-Friendly Layering Routine
August 18, 2026 · v13cormier@gmail.com
Affiliate disclosure: This article contains affiliate links. Glow & Grow Beauty may earn a commission from qualifying purchases at no additional cost to you. As an Amazon Associate I earn from qualifying purchases.
Long-wearing makeup is less about piling on extra product and more about using thin, compatible layers. When each step has time to settle, your base is less likely to separate, crease, or feel heavy. This beginner-friendly routine shows you where to add product, where to use less, and how to touch up without starting over.
Important: No routine can guarantee an exact wear time because skin type, weather, activity, product formulas, and application all matter. Treat this as a flexible method, then adjust it to your own comfort.
The long-wear order at a glance
- Cleanse and moisturize.
- Apply sunscreen and let it settle.
- Use primer only where it solves a problem.
- Build foundation in thin layers.
- Place concealer only where needed.
- Layer cream products before powder.
- Set strategic areas, then finish lightly.
Step 1: Begin with comfortable, hydrated skin
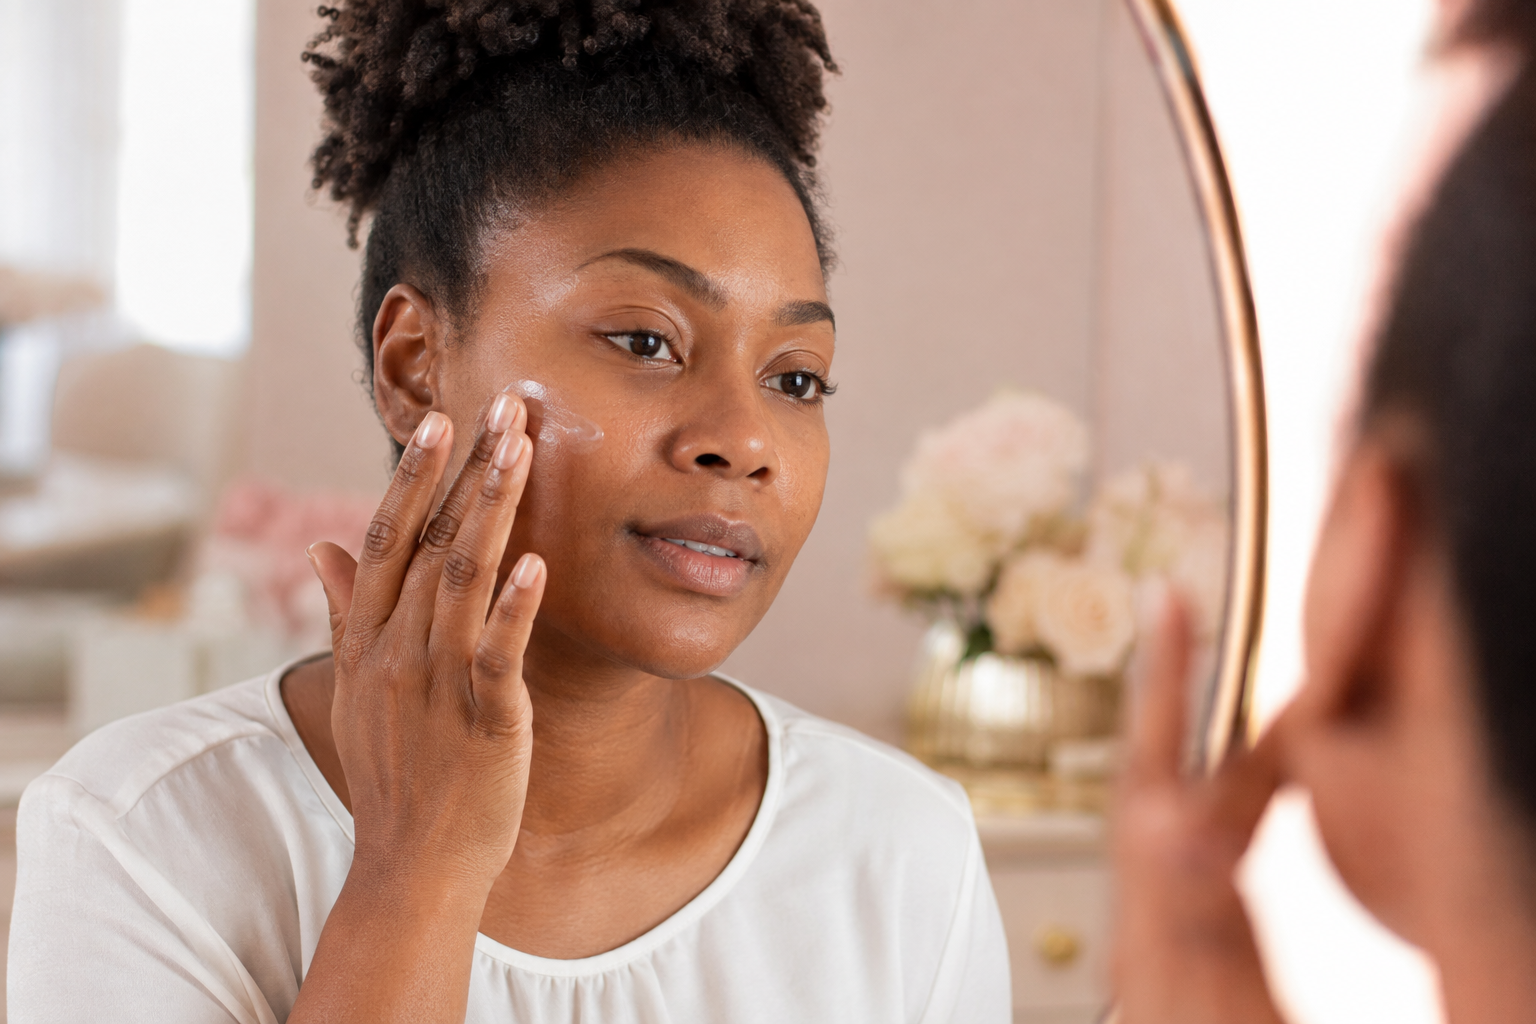
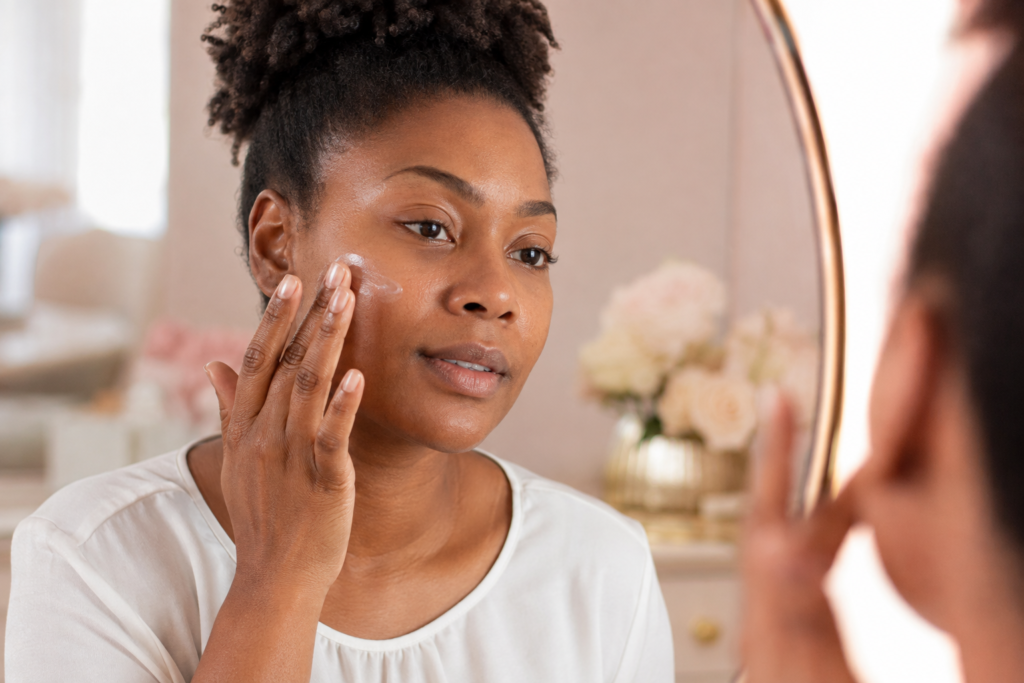
Start with clean hands and a freshly cleansed face. Apply a moisturizer that suits your skin type in a light, even layer. Dry skin may need a little more comfort around the cheeks, while oil-prone skin may prefer a lighter texture through the center of the face.
Give skincare a few minutes to settle. If the surface still feels slippery, gently press away excess product with a clean tissue rather than rubbing the face.
If you are going outdoors, apply broad-spectrum SPF 30 or higher as directed on the label. Makeup with SPF is not automatically a substitute for applying an adequate amount of sunscreen.
For more help building the skincare underneath your makeup, visit the Glow & Grow Skincare guides.
Step 2: Use primer with a purpose
Primer is optional. Use it only when it addresses a specific need: smoothing visible texture, adding grip, reducing excess shine, or giving dry areas a more comfortable base. A pea-size amount for the face is often a practical starting point.
Press primer onto the areas that need it instead of automatically covering every inch. Let it settle before adding foundation. If a primer and foundation repeatedly pill or separate, they may not layer well together; test the combination at home before an important event.
BASE PREP
Makeup Primer
Choose a primer for one clear goal—grip, smoothing, hydration, or oil control—and pair it with a foundation that layers comfortably over it.
Step 3: Build foundation in thin layers
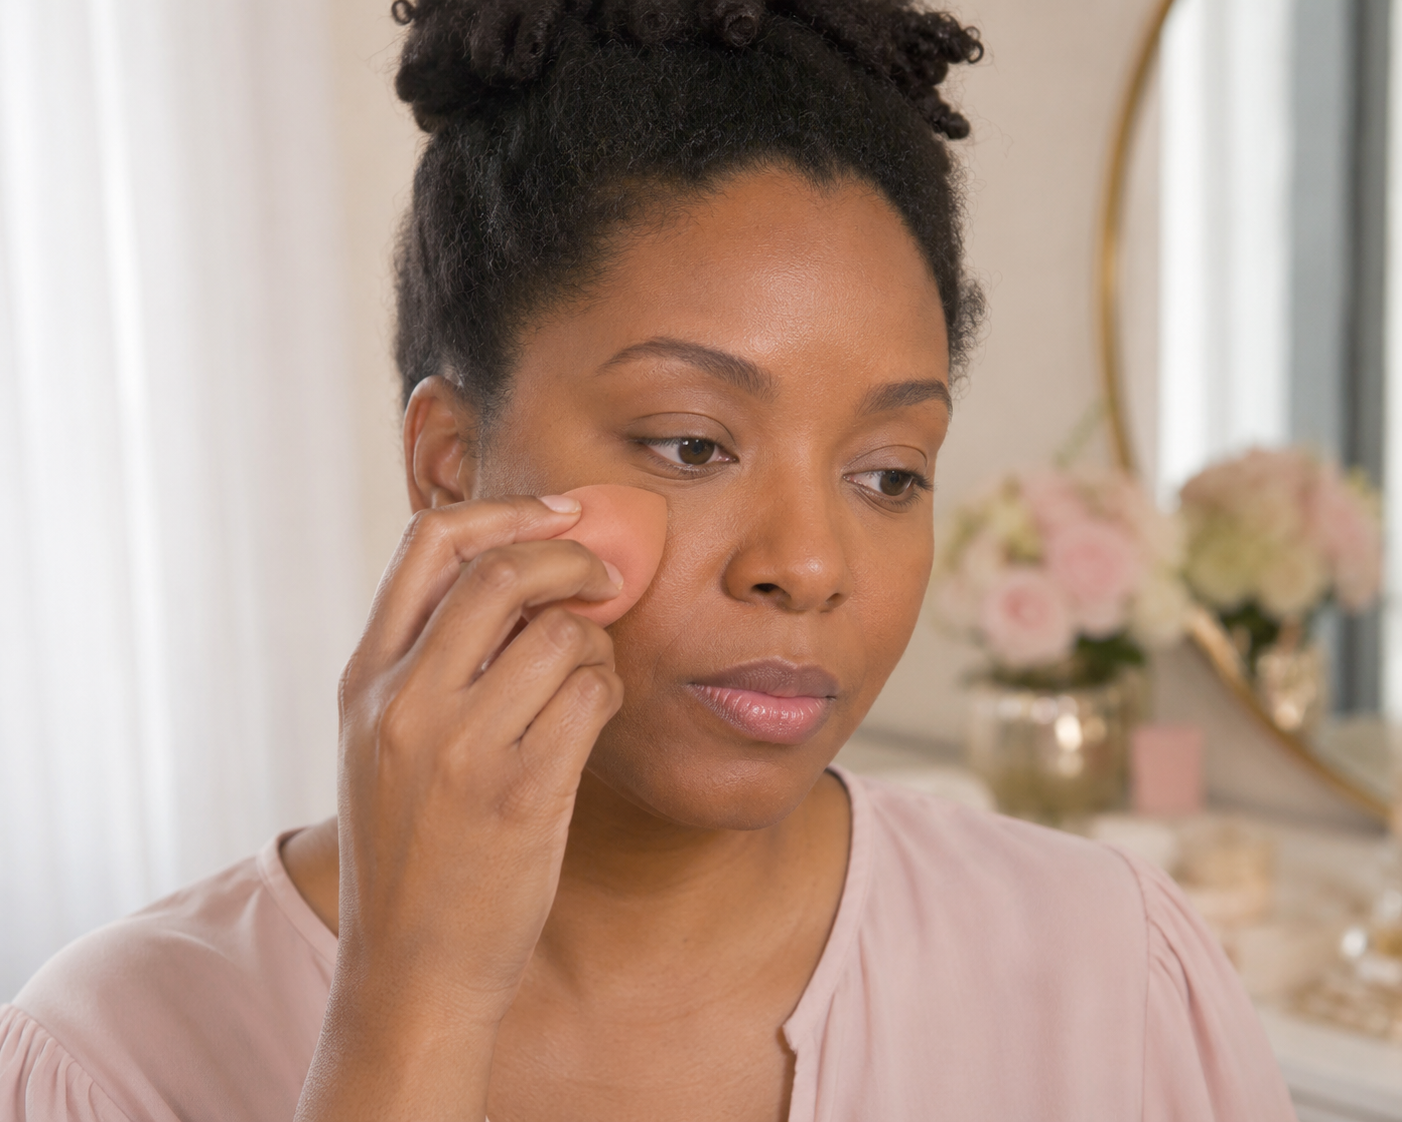
Place a small amount of foundation near the center of the face, where many people want the most evening, then blend outward. Press or stipple instead of aggressively dragging the skin. Add a second thin layer only where you truly want more coverage.
A damp sponge can create a softly blended finish. A dense brush can provide more targeted coverage. Clean fingers may work for some formulas, but always wash your hands first and avoid repeatedly dipping fingers into an open jar.
BLENDING TOOL
Teardrop Makeup Sponge
Use a clean, damp sponge to press thin layers of foundation into the skin and soften visible edges around the jaw and hairline.
Step 4: Conceal only where needed
Dot concealer on areas that still need help after foundation, such as under-eye shadows, redness, or a blemish. Allow a creamy formula a few seconds to gain coverage, then tap the edges until they disappear into the base.
Heavy concealer across the entire under-eye can crease because the area moves constantly. Begin with less than you think you need and keep thick product away from fine folds when possible.
Step 5: Layer creams before powders
Apply cream blush, bronzer, or contour before setting powder. Work one product at a time and blend the edges before moving to the next step. If you prefer powder blush or bronzer, lightly set the base first so the color does not grab unevenly.
Use soft pressure. Repeatedly rubbing over the same area can lift the foundation underneath.
Step 6: Set the areas that move or shine
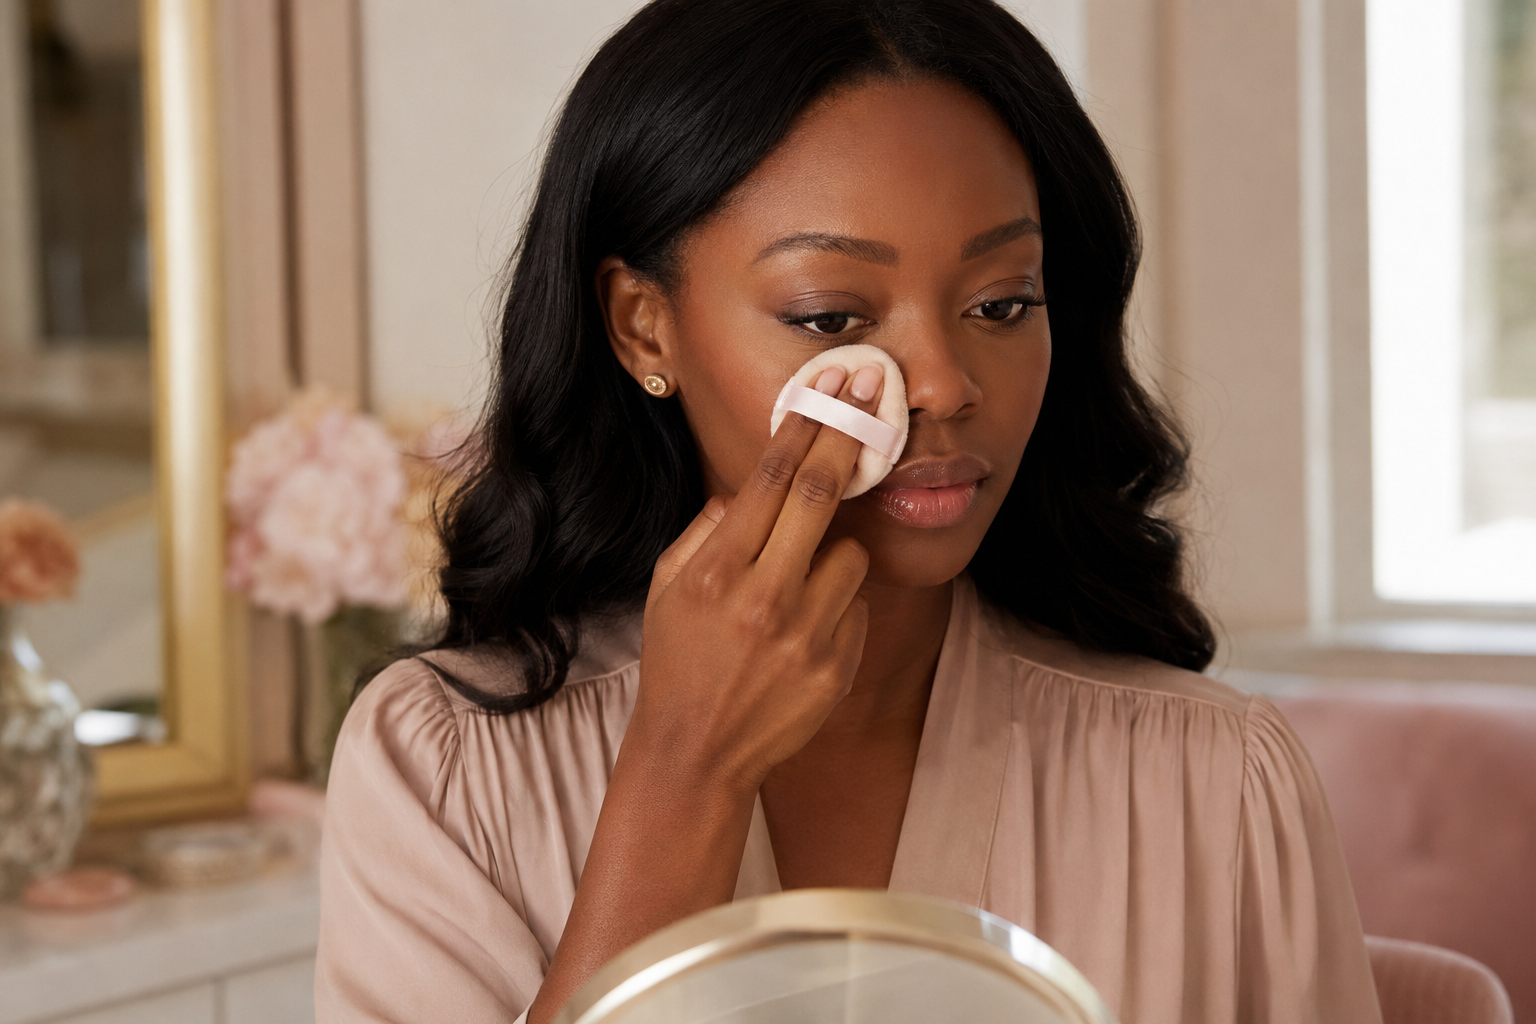
Before powder, smooth any visible creasing with a clean fingertip or sponge. Press a small amount of finely milled powder onto the sides of the nose, chin, center of the forehead, and other areas that tend to move or become shiny. Leave naturally drier areas lightly set.
For deeper complexions, look for a shade that blends transparently or matches your undertone. Test powder in daylight when possible; using more powder does not necessarily create longer wear.
PRECISION SETTING
Velour Powder Puffs
A soft puff helps press a controlled amount of powder into high-movement or shine-prone areas without dusting the entire face heavily.
FINISHING STEP
Loose Setting Powder
Choose a shade and finish that suits your complexion, then apply a small amount only where you need extra hold.
Step 7: Finish and let the makeup settle
If you use setting spray, hold it at the distance listed on the label, close your eyes and mouth, and spray in a well-ventilated area. Let it dry naturally without touching the face. A facial mist may help powders look less dry, but not every mist is designed to extend wear—read the product description and directions.
FINAL LAYER
Makeup Setting Spray
Look for a finishing spray that matches your preferred finish and follow the label’s distance, ventilation, and application directions.
How to touch up without creating buildup
- Blot sweat or oil gently with tissue or blotting paper.
- Press lifted foundation back into place with a clean sponge.
- Add a tiny amount of concealer only if coverage is missing.
- Reapply powder sparingly to the areas that still look shiny.
- Refresh lip products after eating or drinking.
Avoid layering fresh powder directly over visible oil or moisture. Blotting first usually produces a smoother result.
Common long-wear makeup mistakes
- Applying every layer too thickly.
- Rushing before skincare or sunscreen has settled.
- Combining products that pill when layered.
- Powdering dry areas heavily.
- Skipping tool cleaning.
- Touching or rubbing the face throughout the day.
- Trying an unfamiliar routine for the first time before a major event.
Makeup hygiene and eye-area safety
The FDA advises washing your hands before applying cosmetics, keeping containers clean and tightly closed, not sharing makeup, and discarding products that change color or smell. Use cosmetics near the eyes only when they are intended for that area. Stop using an eye cosmetic if it causes irritation, and discard eye makeup used during an eye infection.
Never add water or saliva to dried mascara. Keep applicators clean and avoid applying makeup in a moving vehicle, where a sudden movement could injure the eye.
Frequently asked questions
Do I need both primer and setting spray?
No. Either can be optional. Choose products based on the problem you want to solve and how they interact with the rest of your routine.
Why does my foundation separate around my nose?
Common contributors include excess skincare, too much primer, heavy foundation, natural oil, and repeated touching. Try thinner layers and set only after smoothing the area.
Should I bake my makeup?
Baking is a preference, not a requirement. A small amount of powder pressed strategically may be more comfortable and flattering for everyday wear.
How should I prepare for event makeup?
Test the full routine on an ordinary day. Photograph it in indoor and outdoor light, note how it wears, and change one step at a time.
Shop the Glow & Grow beauty edit
CURATED BEAUTY FINDS
Vanessa’s Makeup Picks
Browse Vanessa’s current makeup and beauty finds in the Glow & Grow Beauty Walmart storefront.
Sources
- U.S. Food and Drug Administration: Using Cosmetics Safely
- U.S. Food and Drug Administration: Eye Cosmetic Safety
- American Academy of Dermatology: How to Clean Your Makeup Brushes
Glow tip: The thinnest effective layer is usually easier to smooth, set, and touch up than one heavy coat.